Micro cabin | Springville, NY | Construction Progress
About a year ago George — Timberbuilt’s owner — started talking about a small cabin for his property.
The drawing team came up with a few rough concepts and we got to work improving on our favorite design. We changed the sizing and the window layout until we had a 16′ x 20′ timber frame ADU, a building that we’re affectionately calling the micro cabin.
The cabin’s blueprints hibernated on our hard drives through the long winter. Snow for the record books until — long overdue — spring worked up the courage to assert itself. Construction season is here, it’s time to get this thing built…
The cabin’s blueprints hibernated on our hard drives through the long winter. Snow for the record books until — long overdue — spring worked up the courage to assert itself. Construction season is here, it’s time to get this thing built…
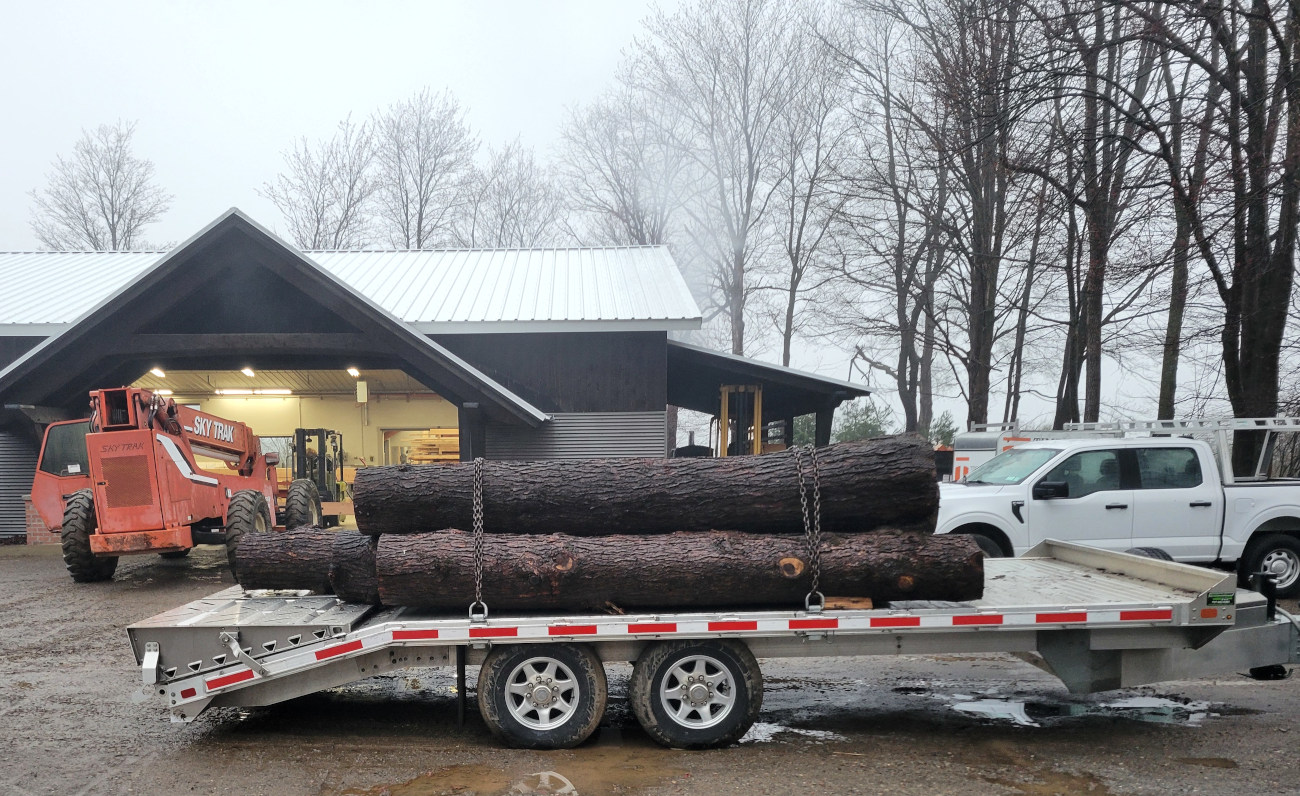
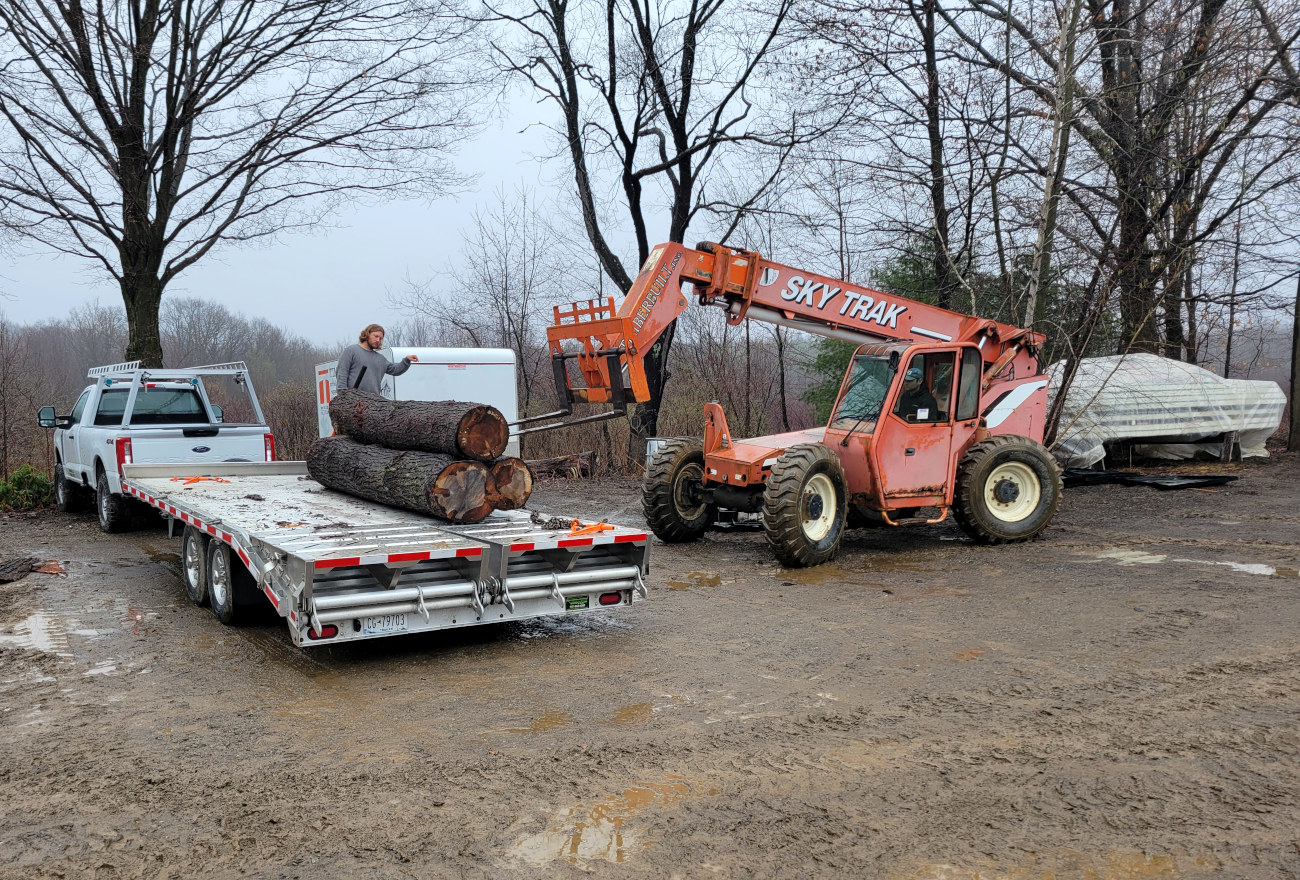
For this project we’re cutting the timbers out of hemlock logs, harvested from George’s property.
The woolly adelgid is an invasive insect that’s decimating New York’s hemlock population. George decided to take these hemlocks down before they were killed by the bugs.
House design
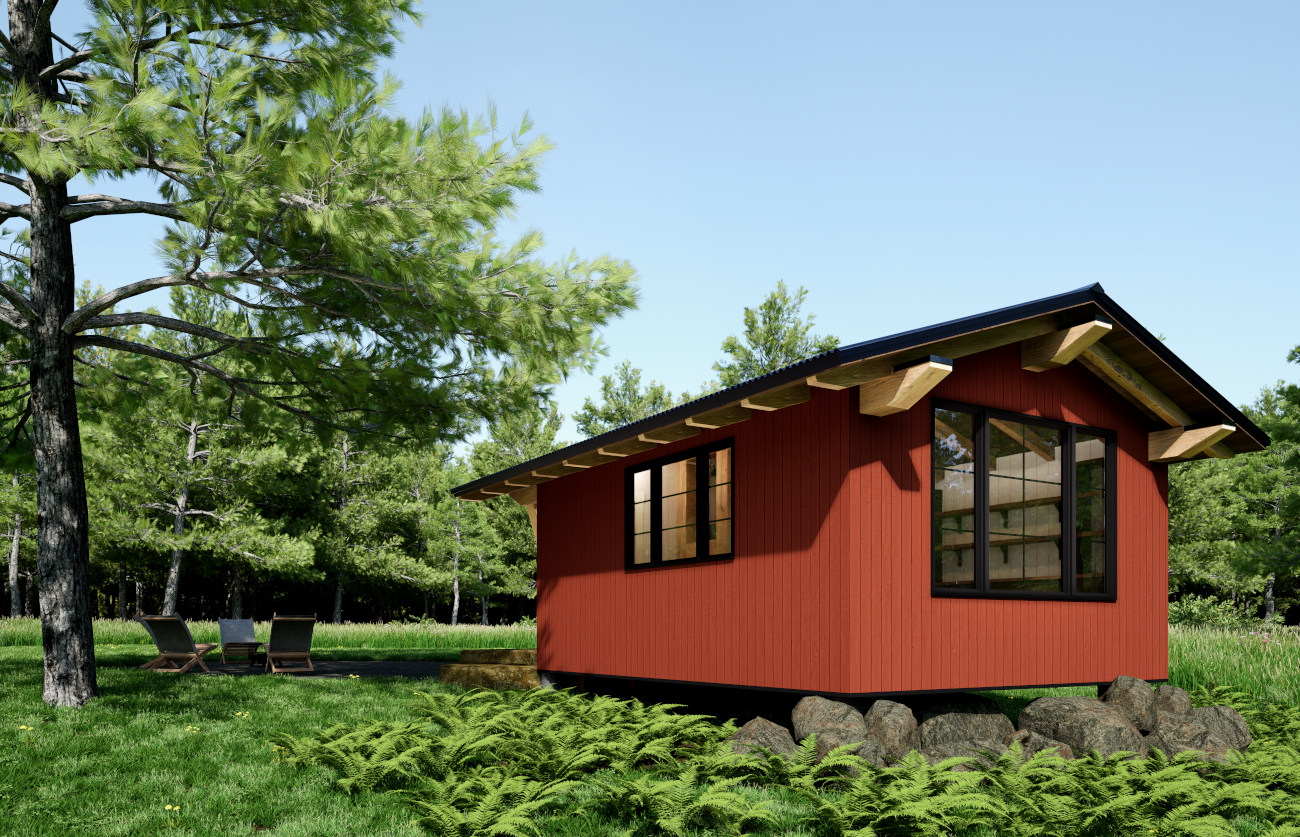
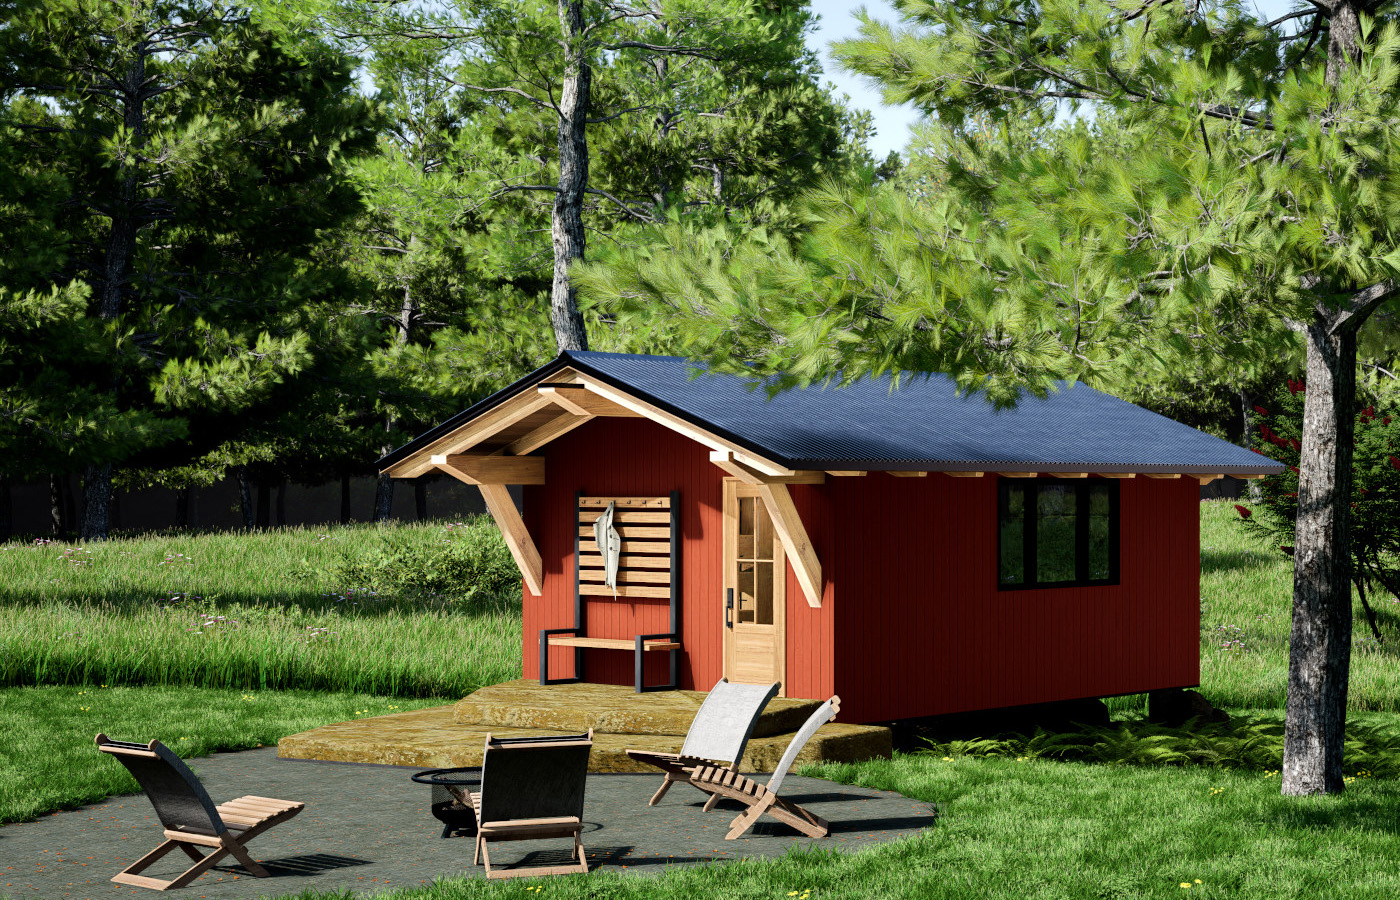
The Gable Entry Micro Cabin
Location
Springville, NY
Square footage
320 SQF
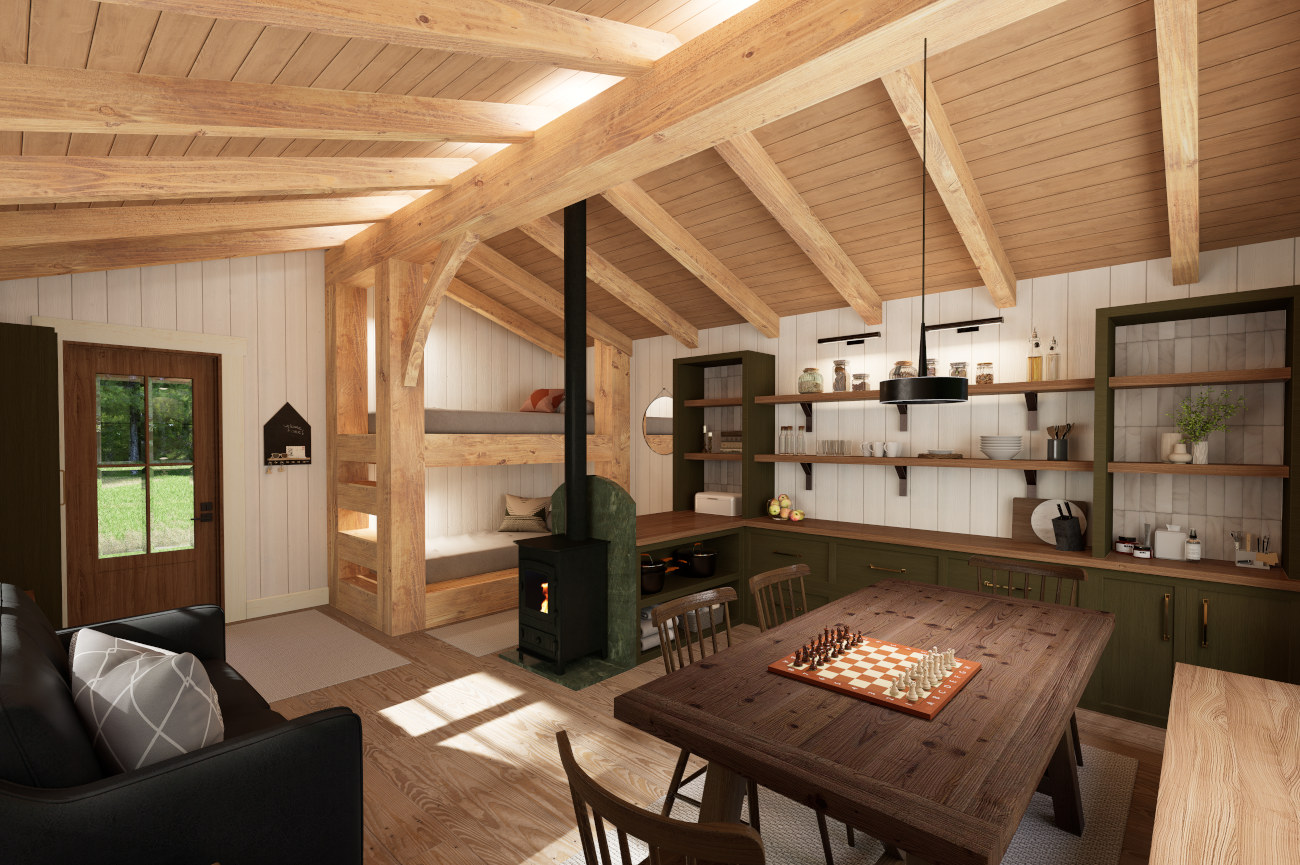
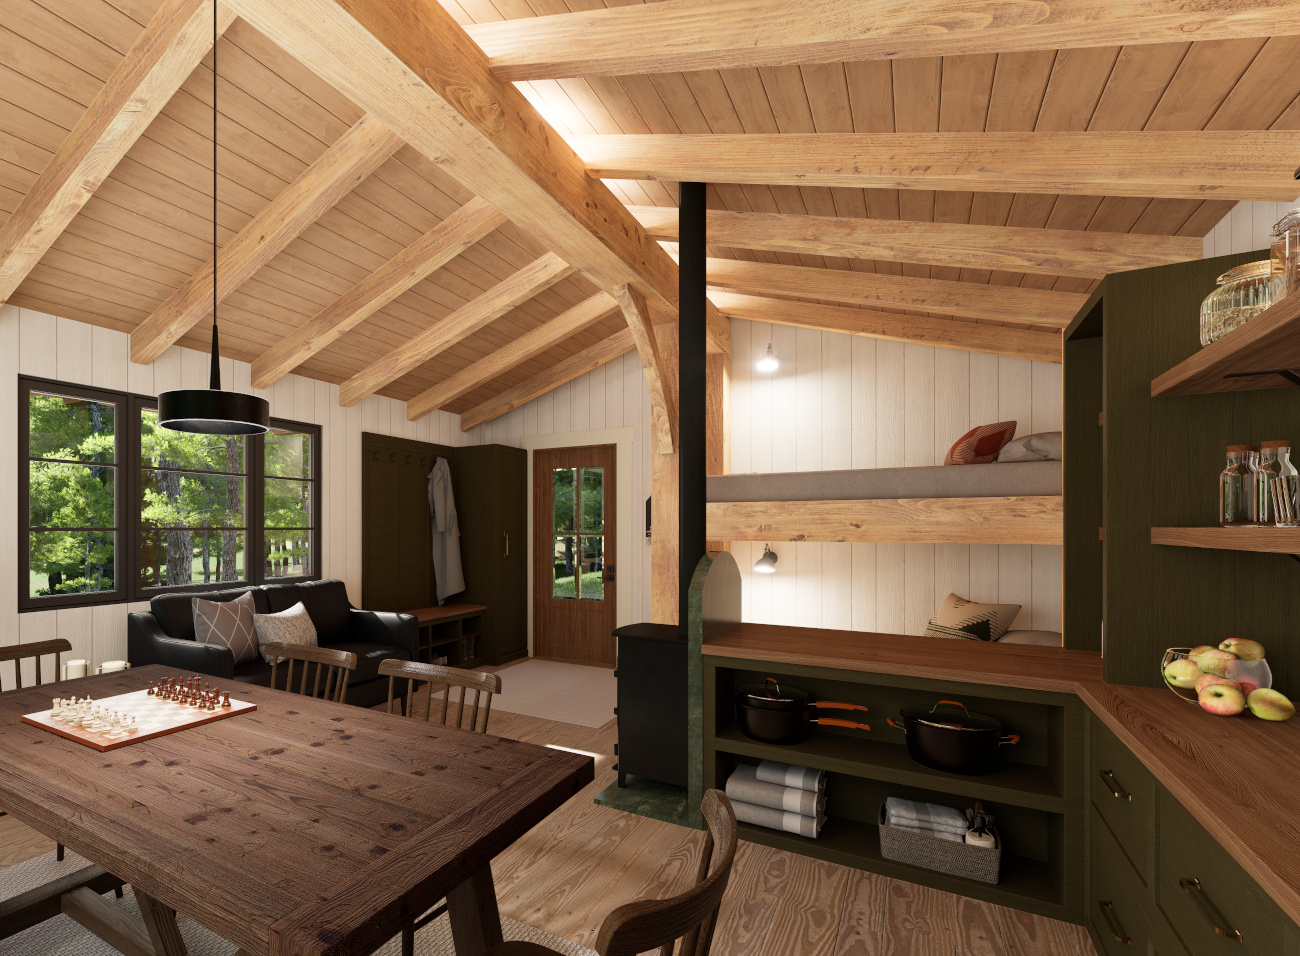
Project renderings
The exterior dimensions of the cabin are 16′ x 20′. To simplify the build process we’ve decided to use a SIP floor, a building technique that we’re excited to try for the first time.
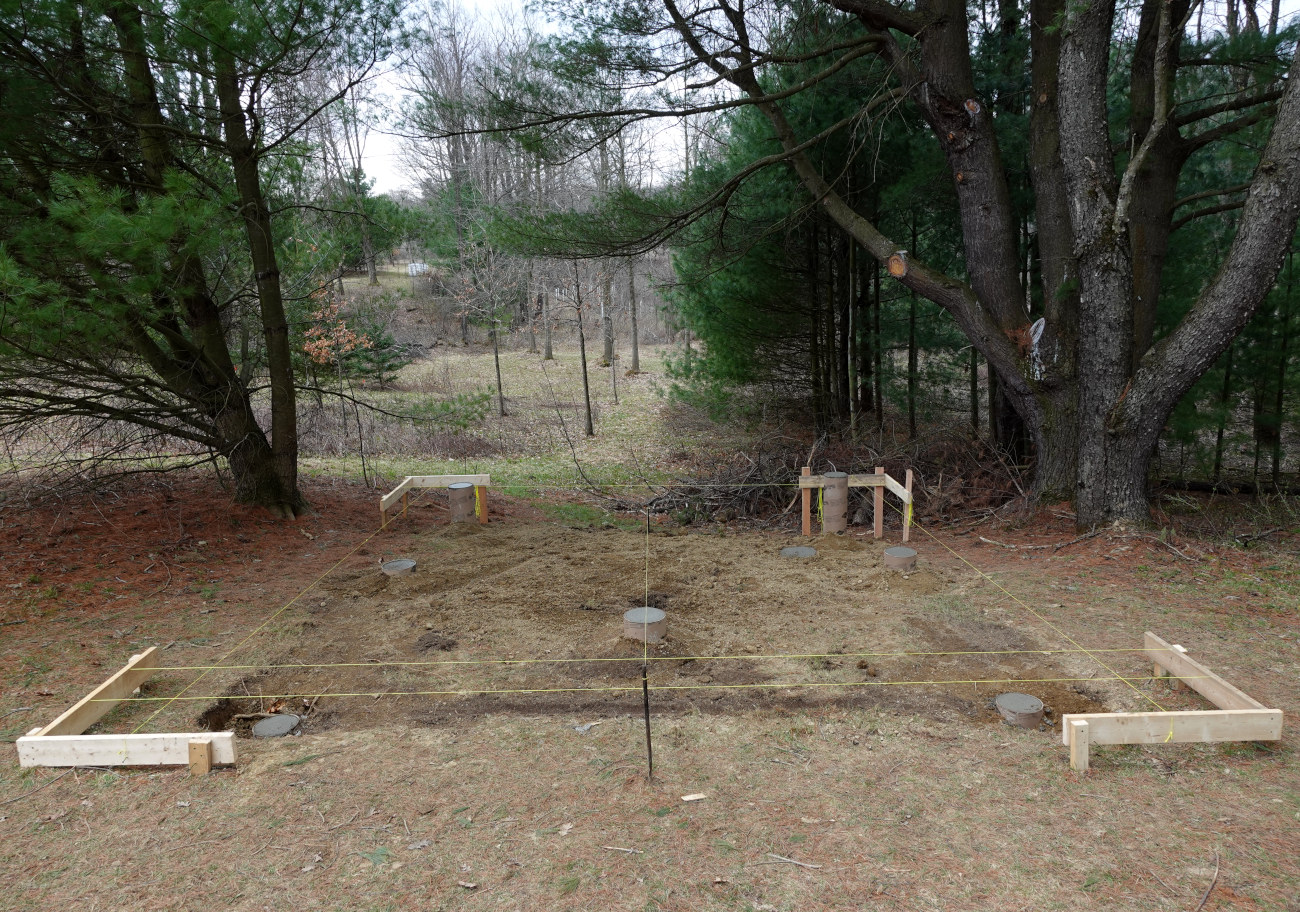
The micro cabin does not require a poured foundation, it will rest on sonotube piers.

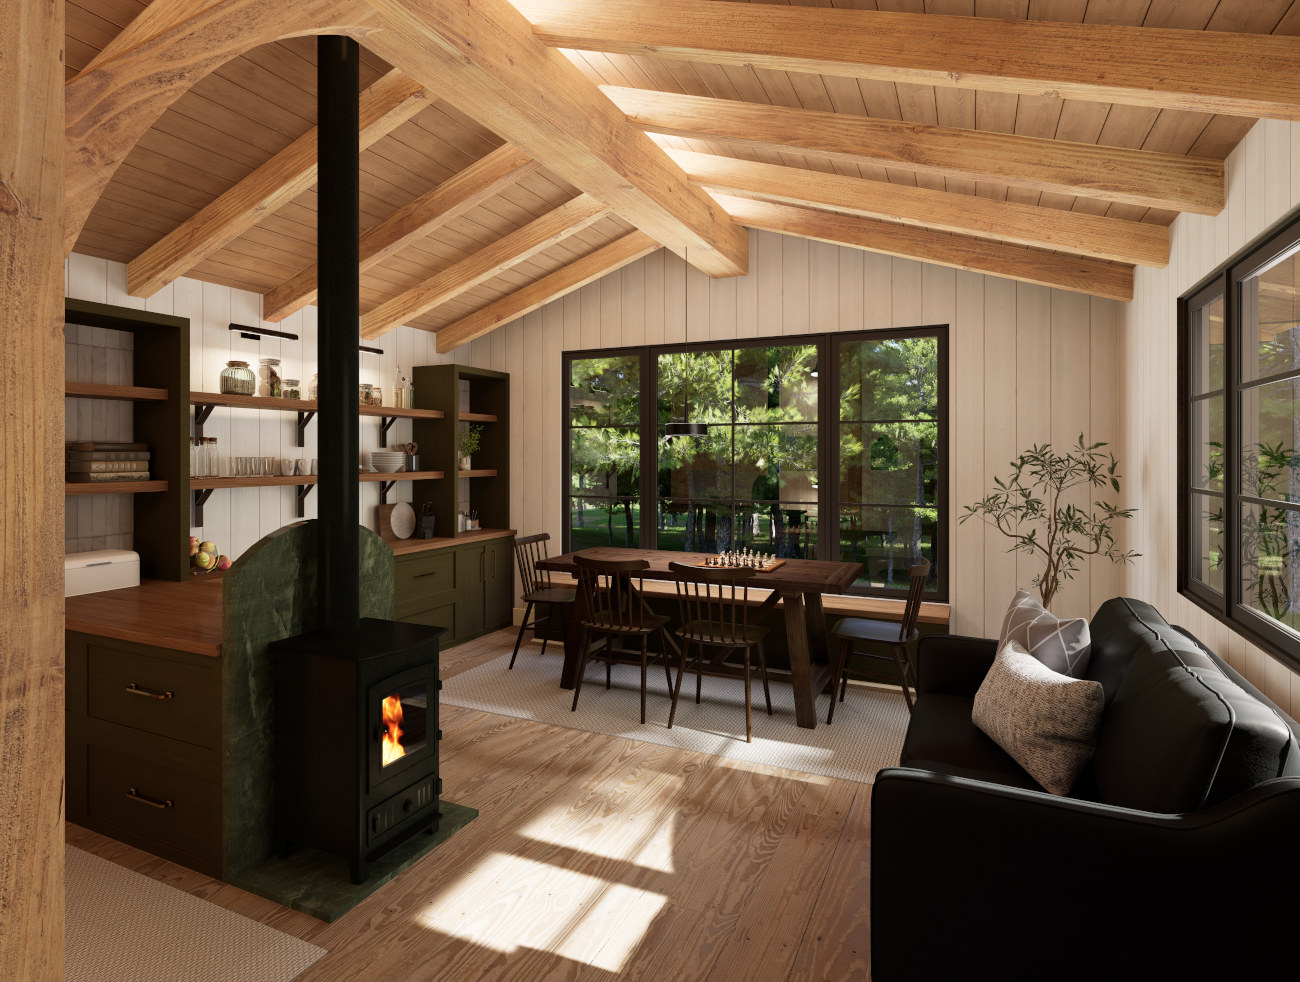
On the interior we’re planning for built-in bunk beds and a small wood burning stove. This building is exceptionally energy efficient, it won’t take much to keep it warm.
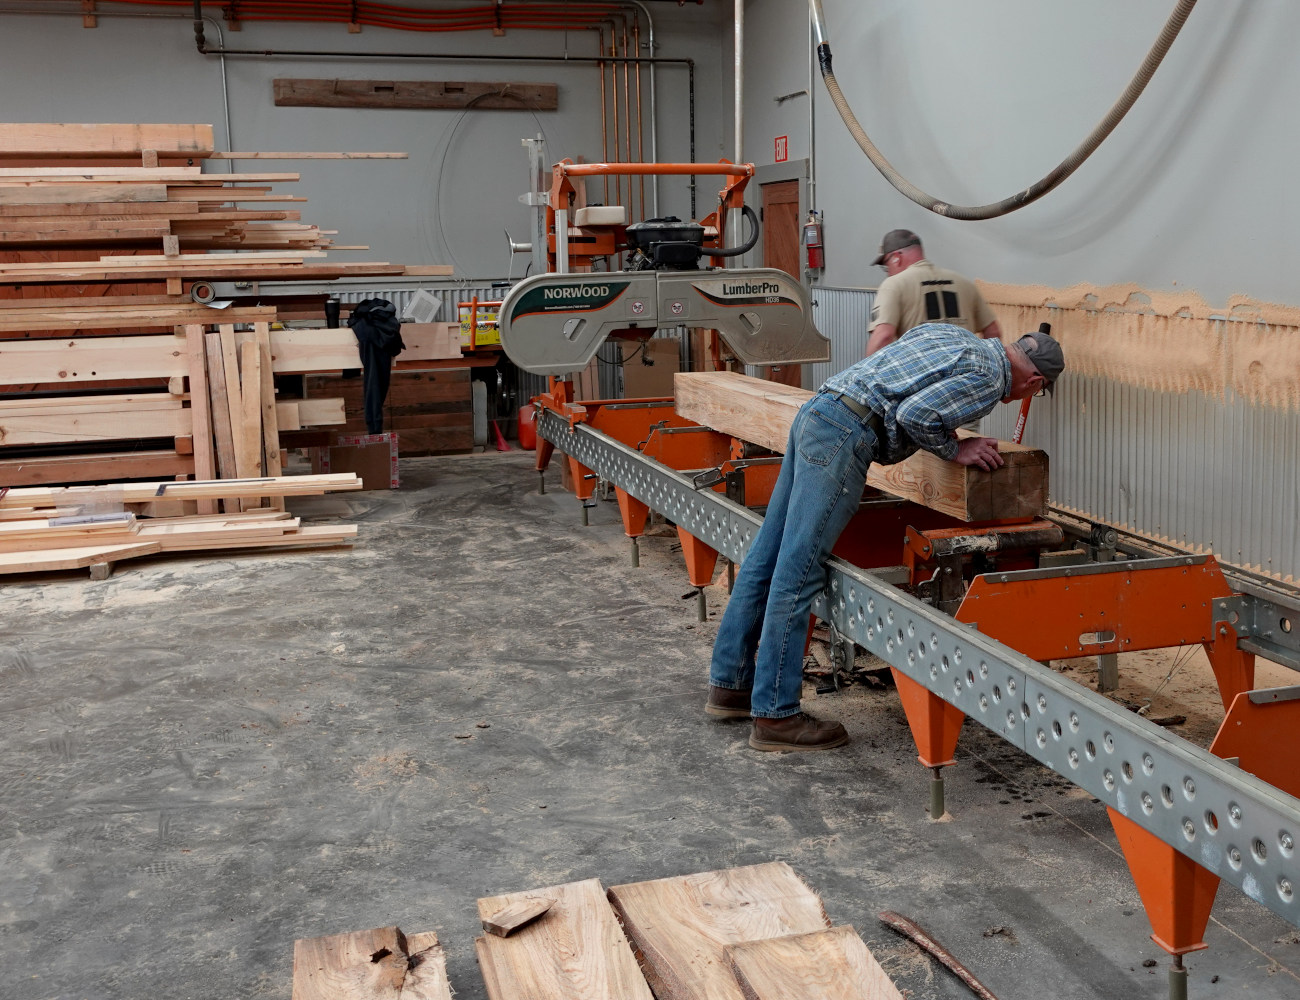
Timber production
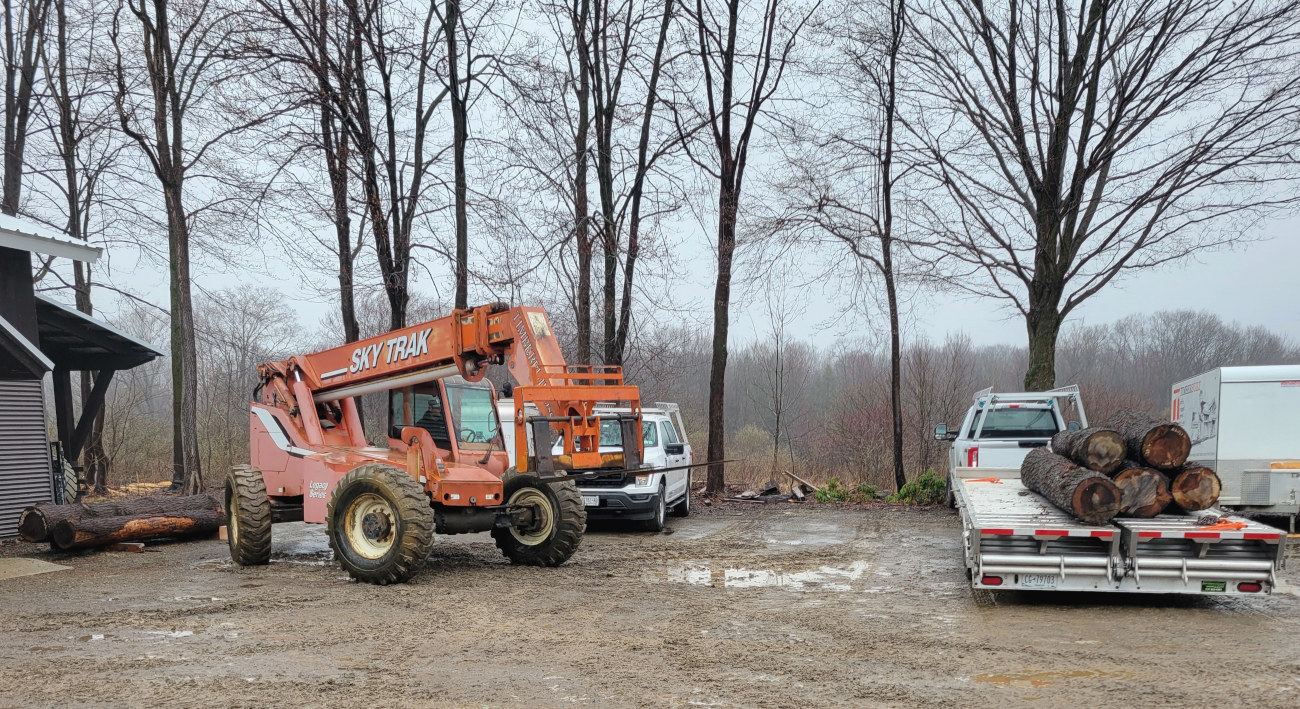
Work begins on a dreary day in April. Will and Frank from the field crew unload the logs and get them prepped for the sawmill.
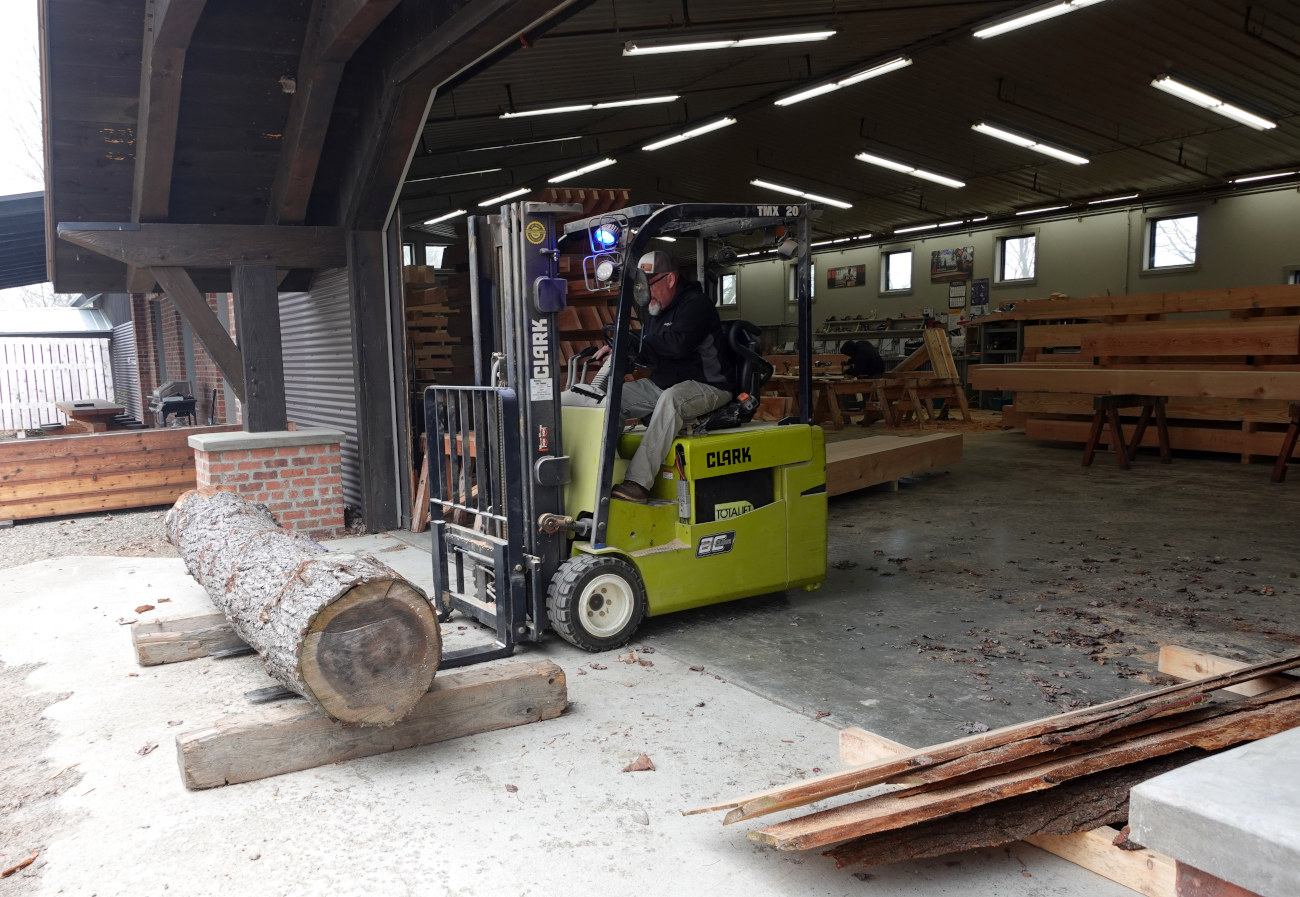
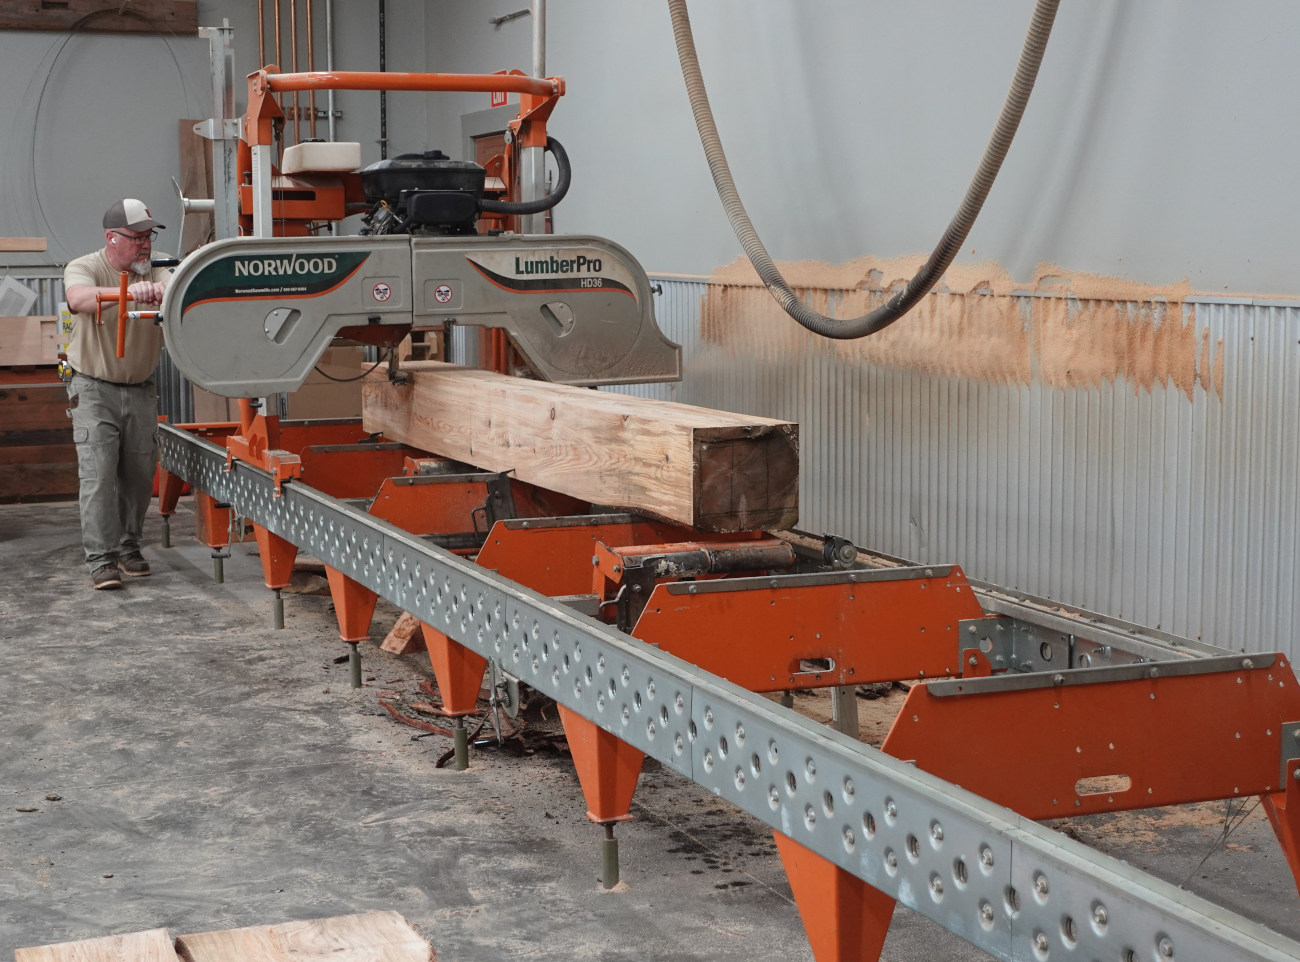
Jim brings a log inside and drops it on the sawmill.

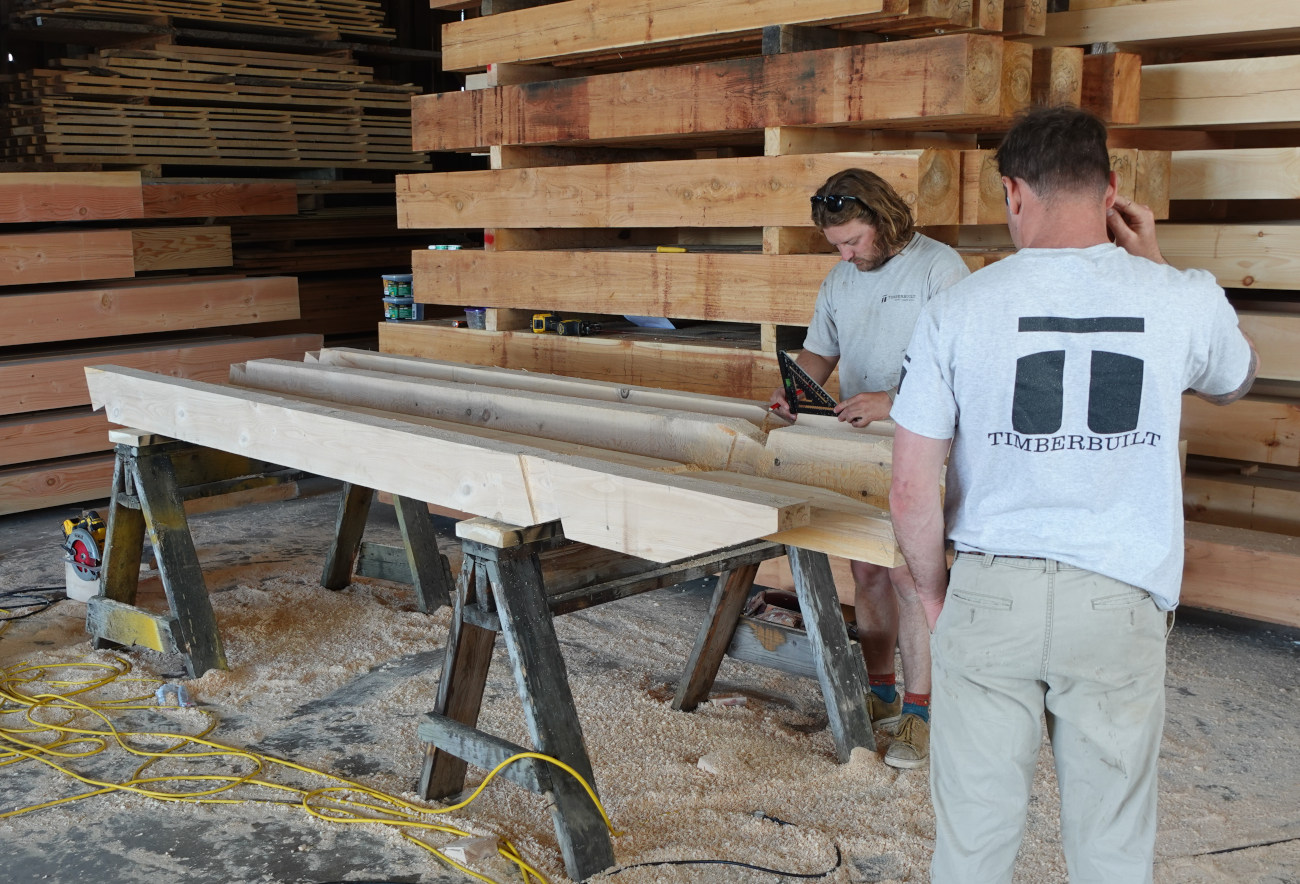
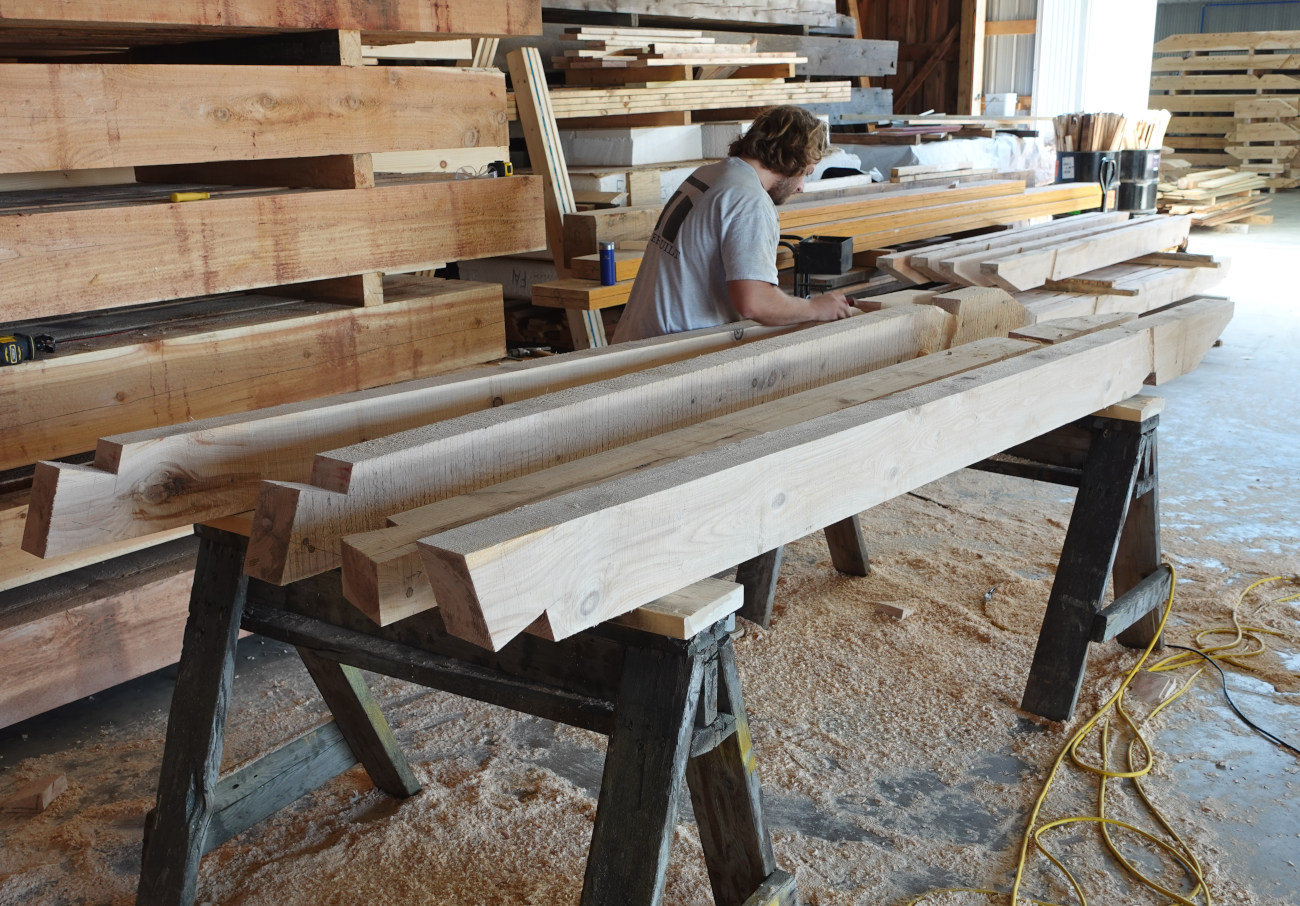
He measures twice and cuts once, every log’s yield is planned in advance.
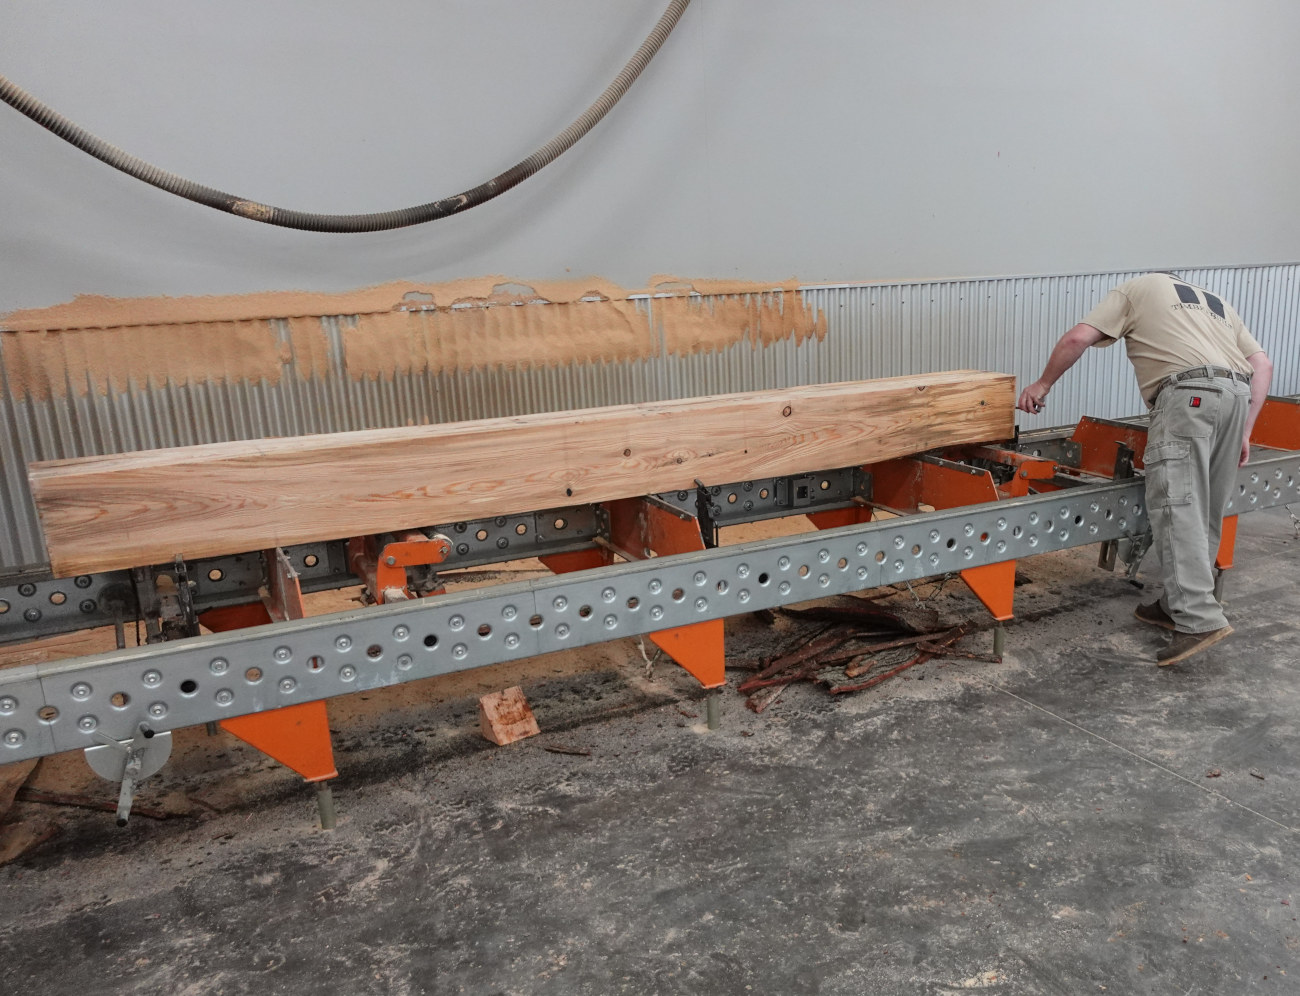
After the timbers are cut, Will and Frank do the wire brushing and routing.
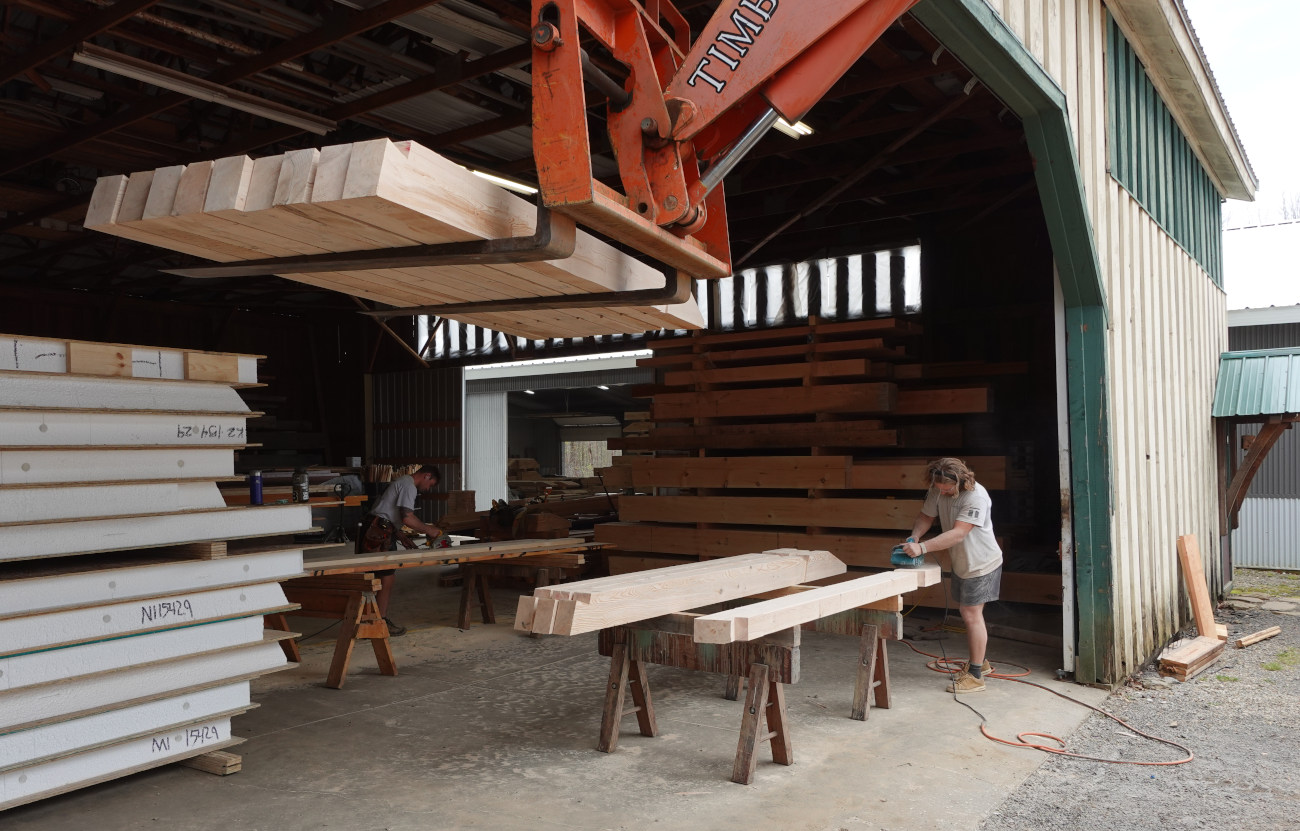
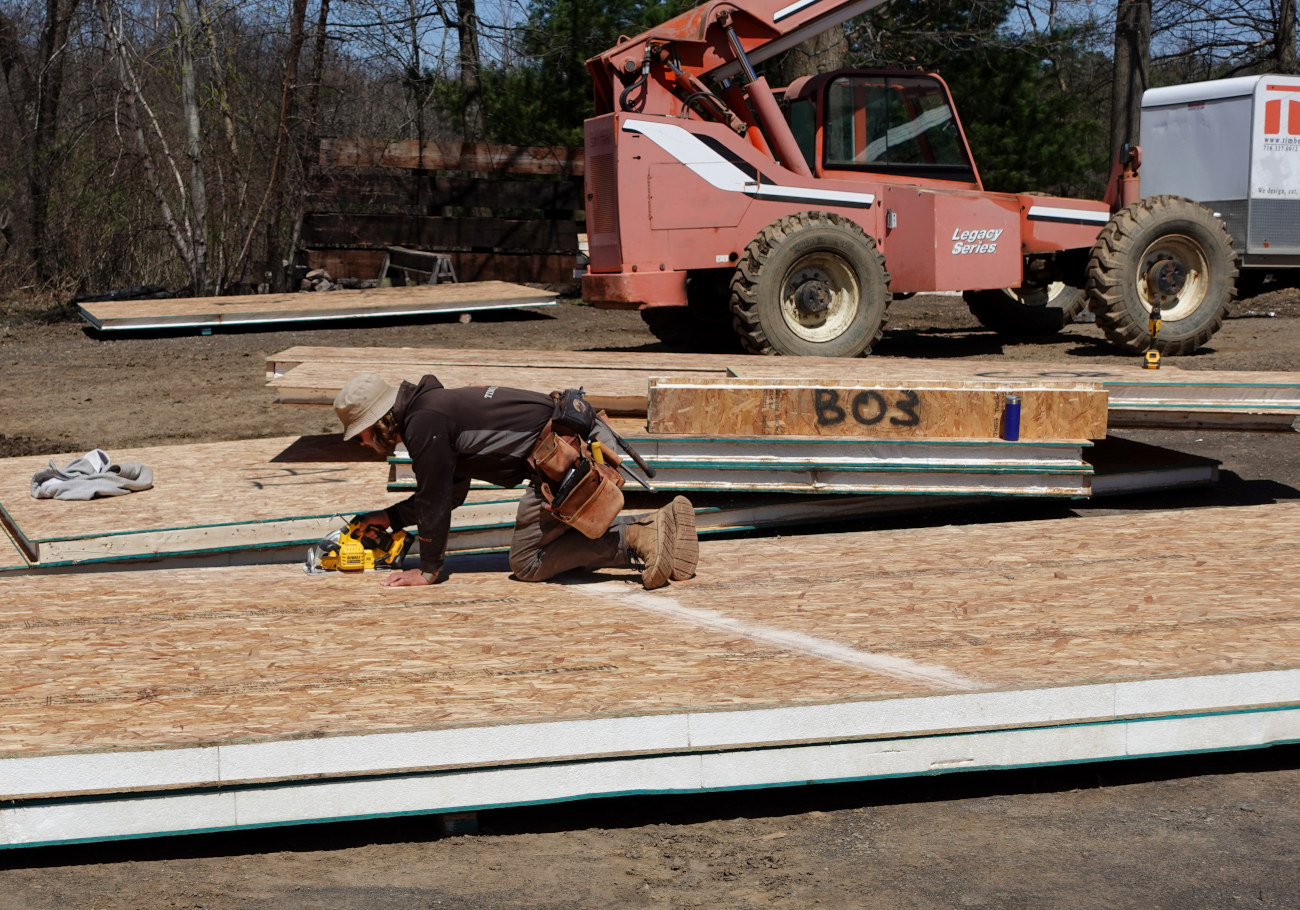
Cutting the SIPs
For a typical house Timberbuilt will send a set of schematics to our SIP supplier. The supplier cuts the panels to our specifications and sends them directly to the job site.
For smaller projects it makes sense for the Timberbuilt team to cut their own panels. A few days of nice weather and the job is done.
Site prep
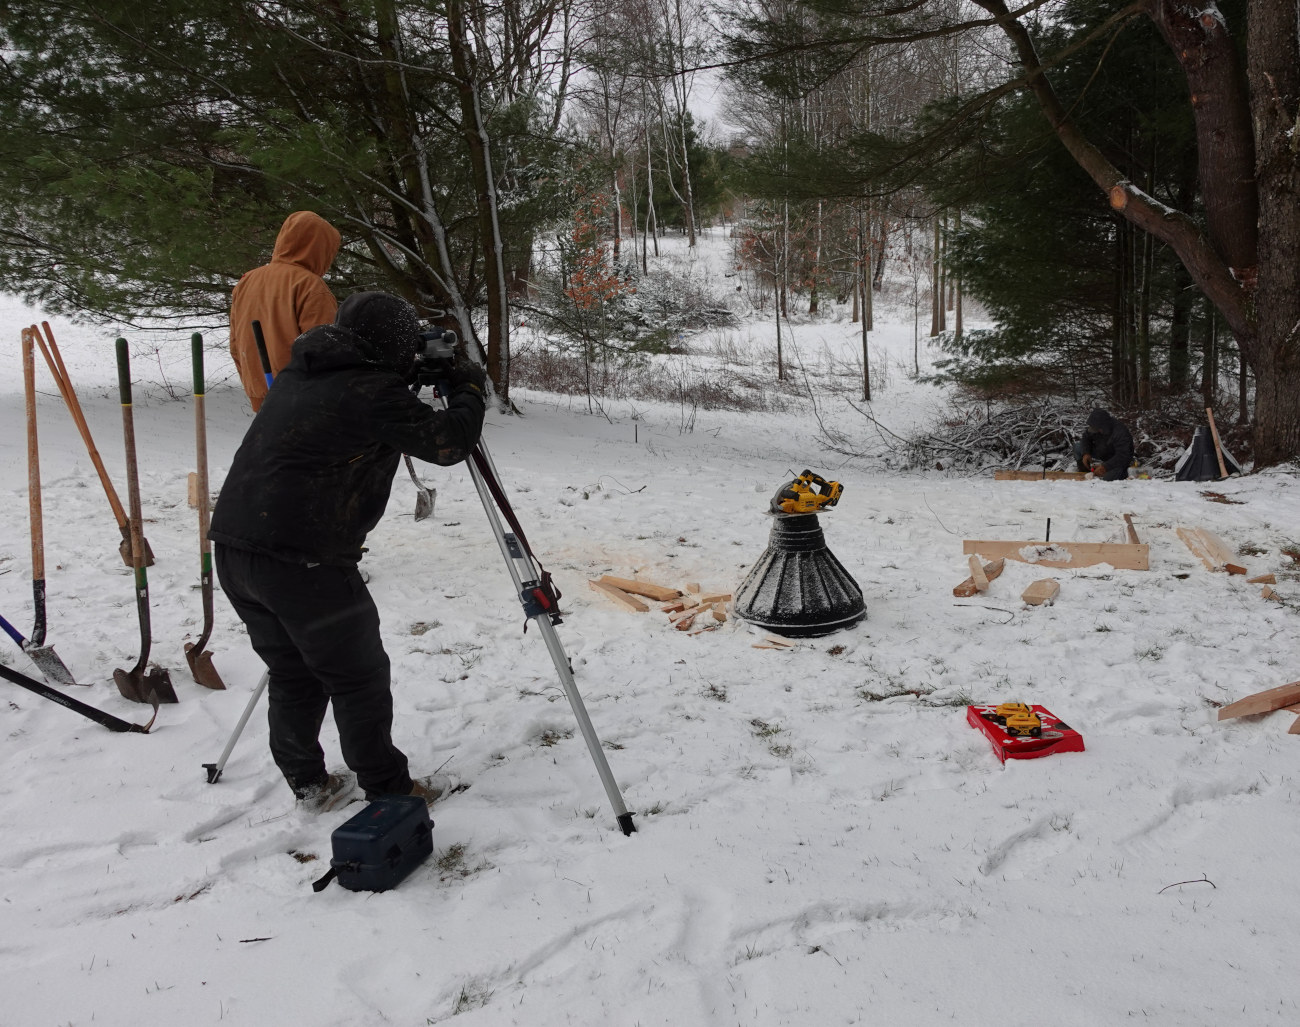
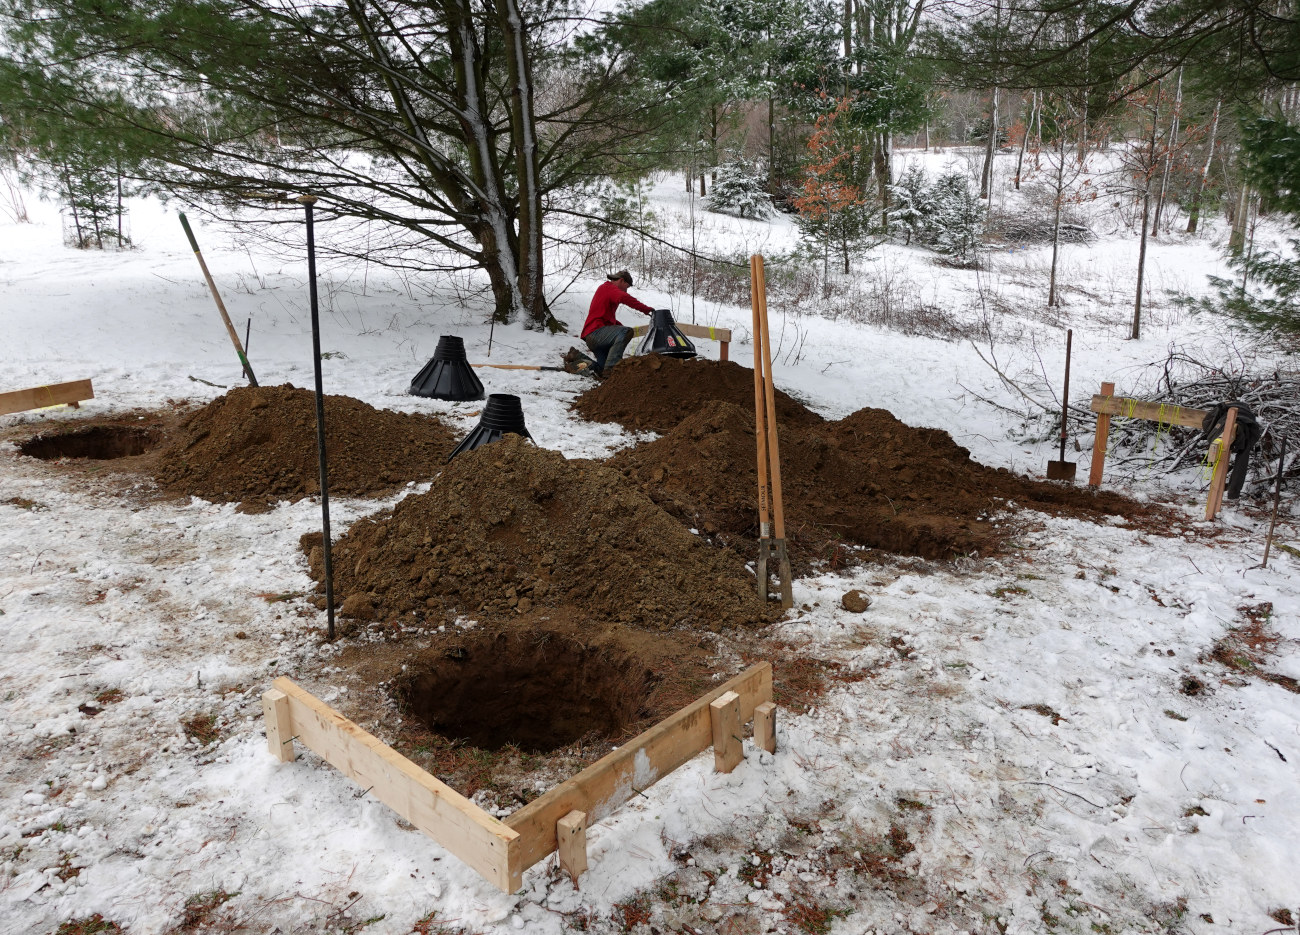
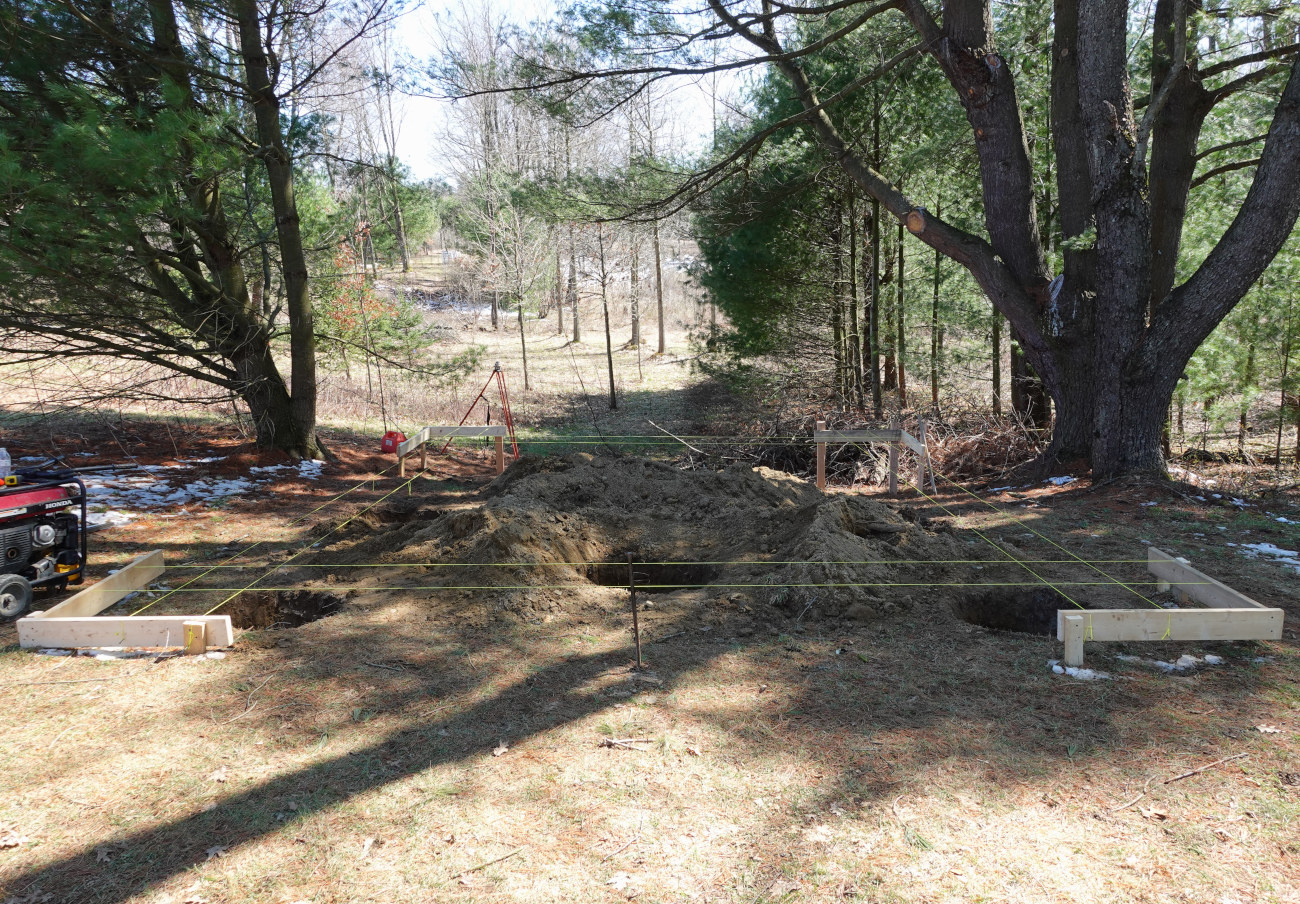
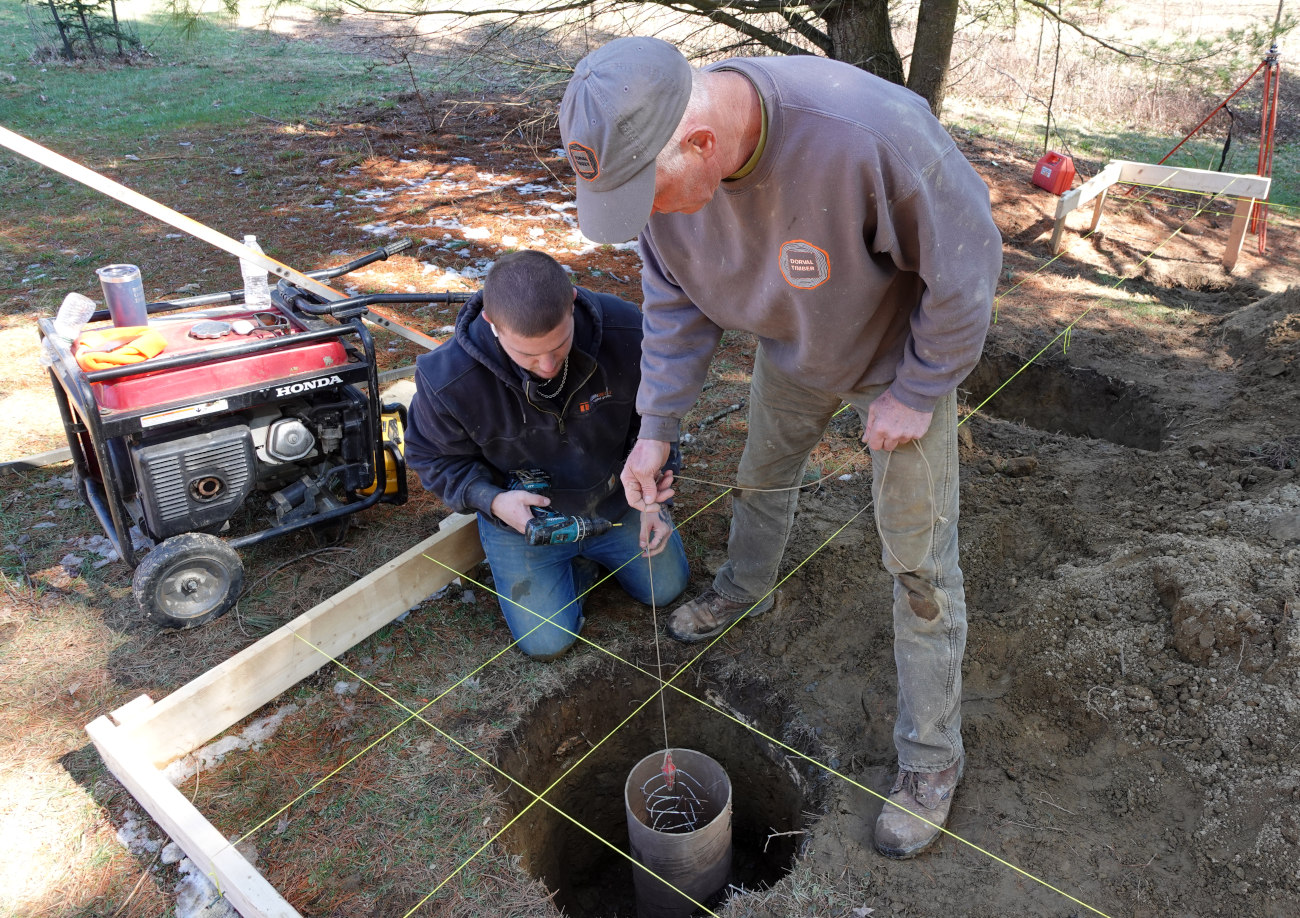
One of George’s first jobs was working with a concrete crew. He’s retained that knowledge and puts it to good use today. On the season’s final snowy day he teaches the field crew how to lay out a foundation.
The guys set up batter boards and use a level to confirm alignment.
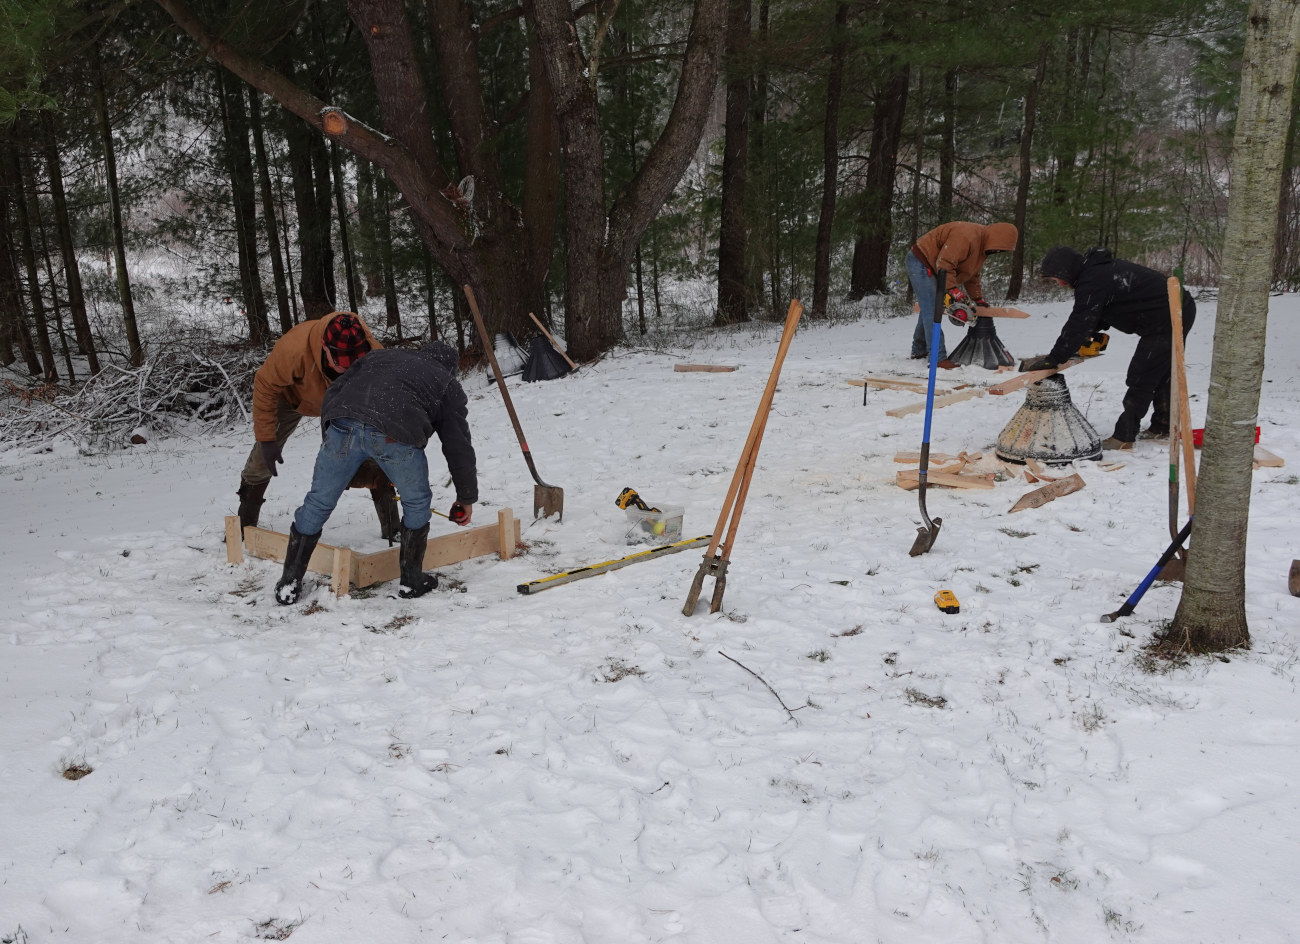
Once the holes are marked the digging begins. Each hole gets a bigfoot form that serves as a footer for a sonotube pier.
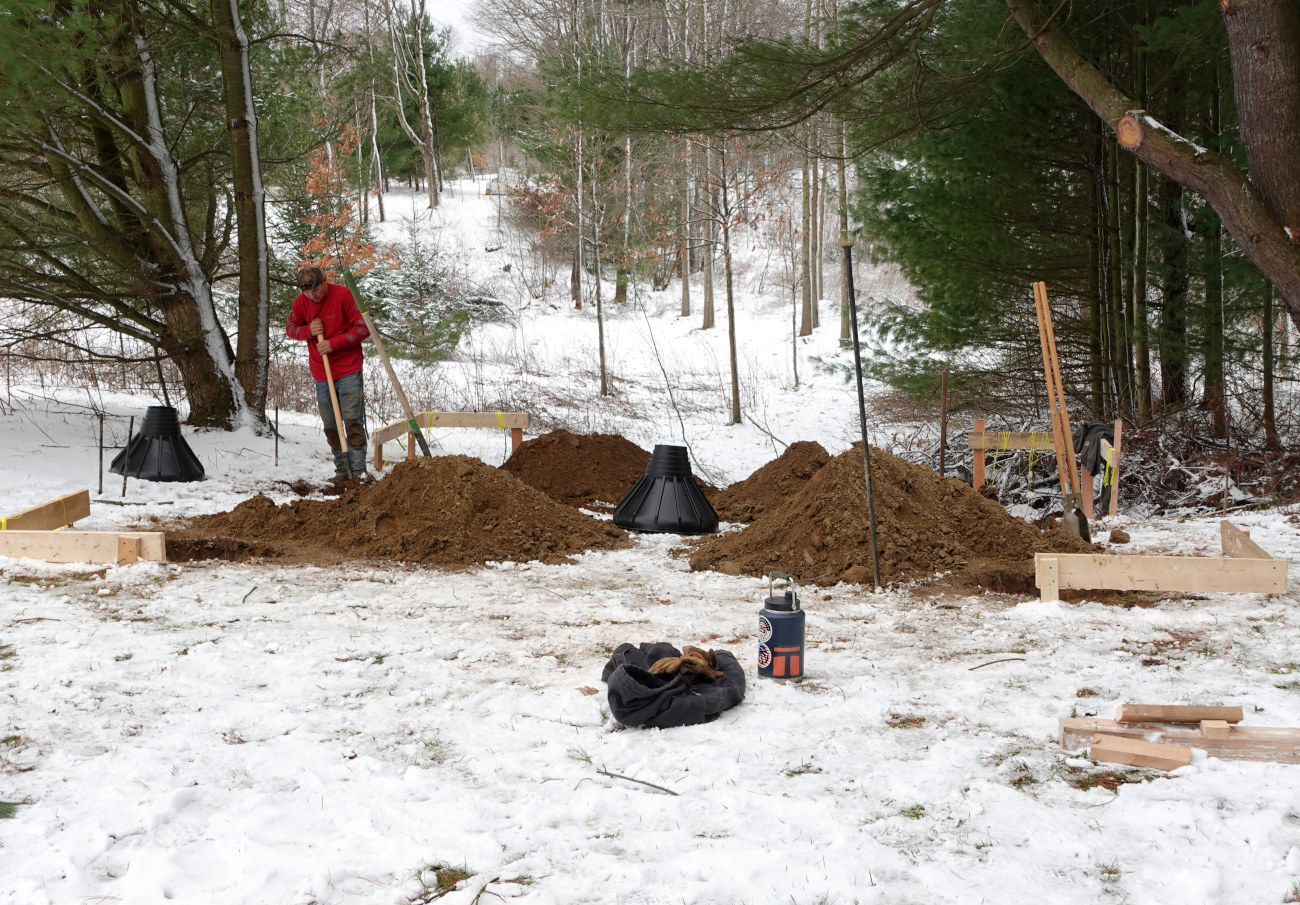

We pour the concrete and fill the hole to the top of the bigfoot.

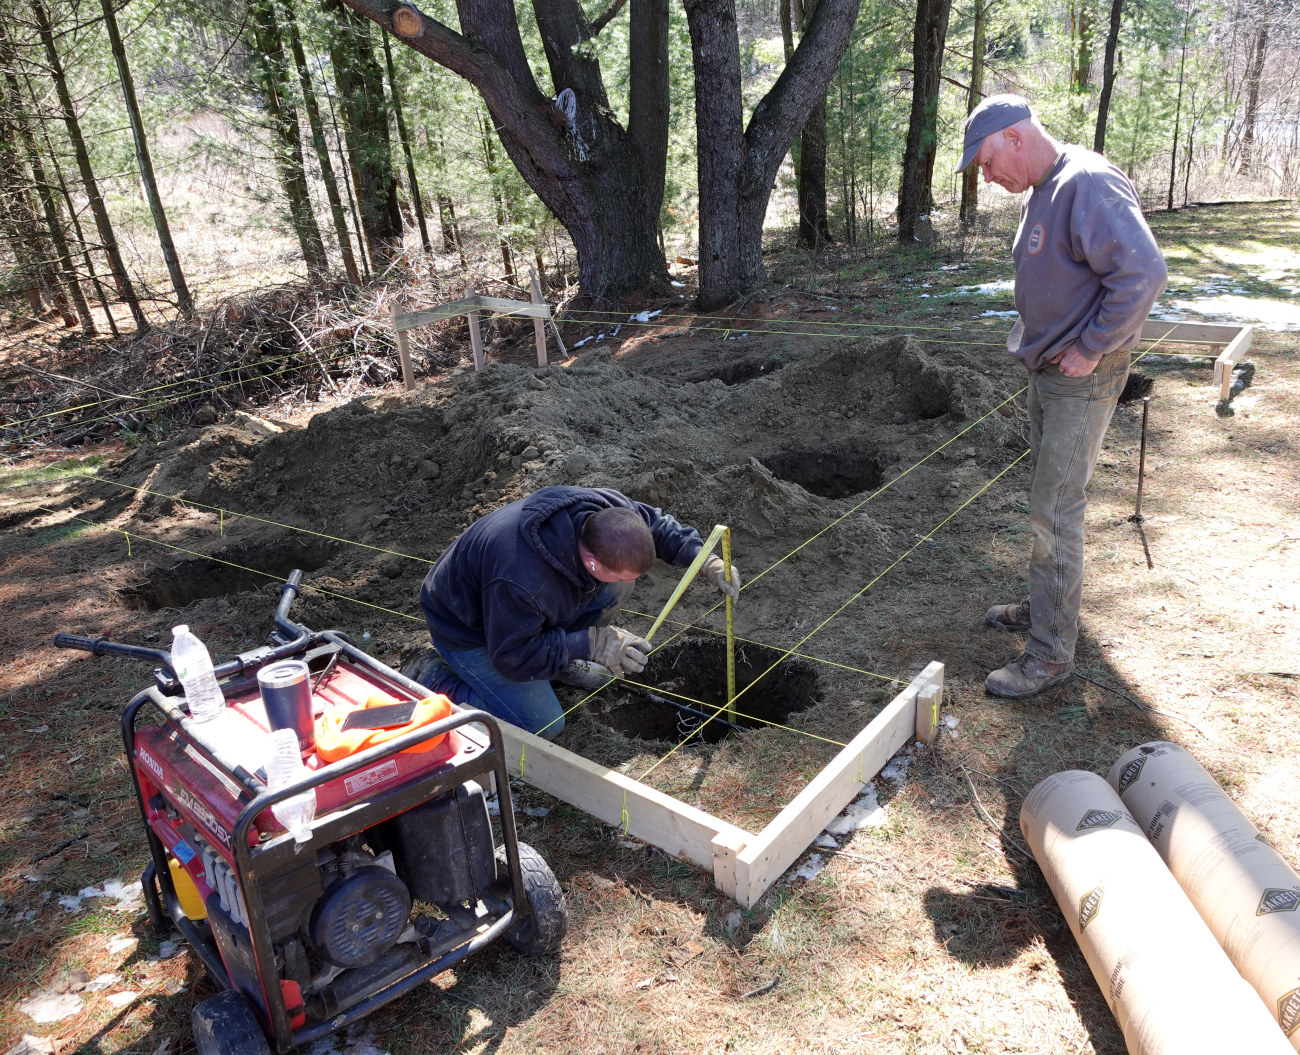
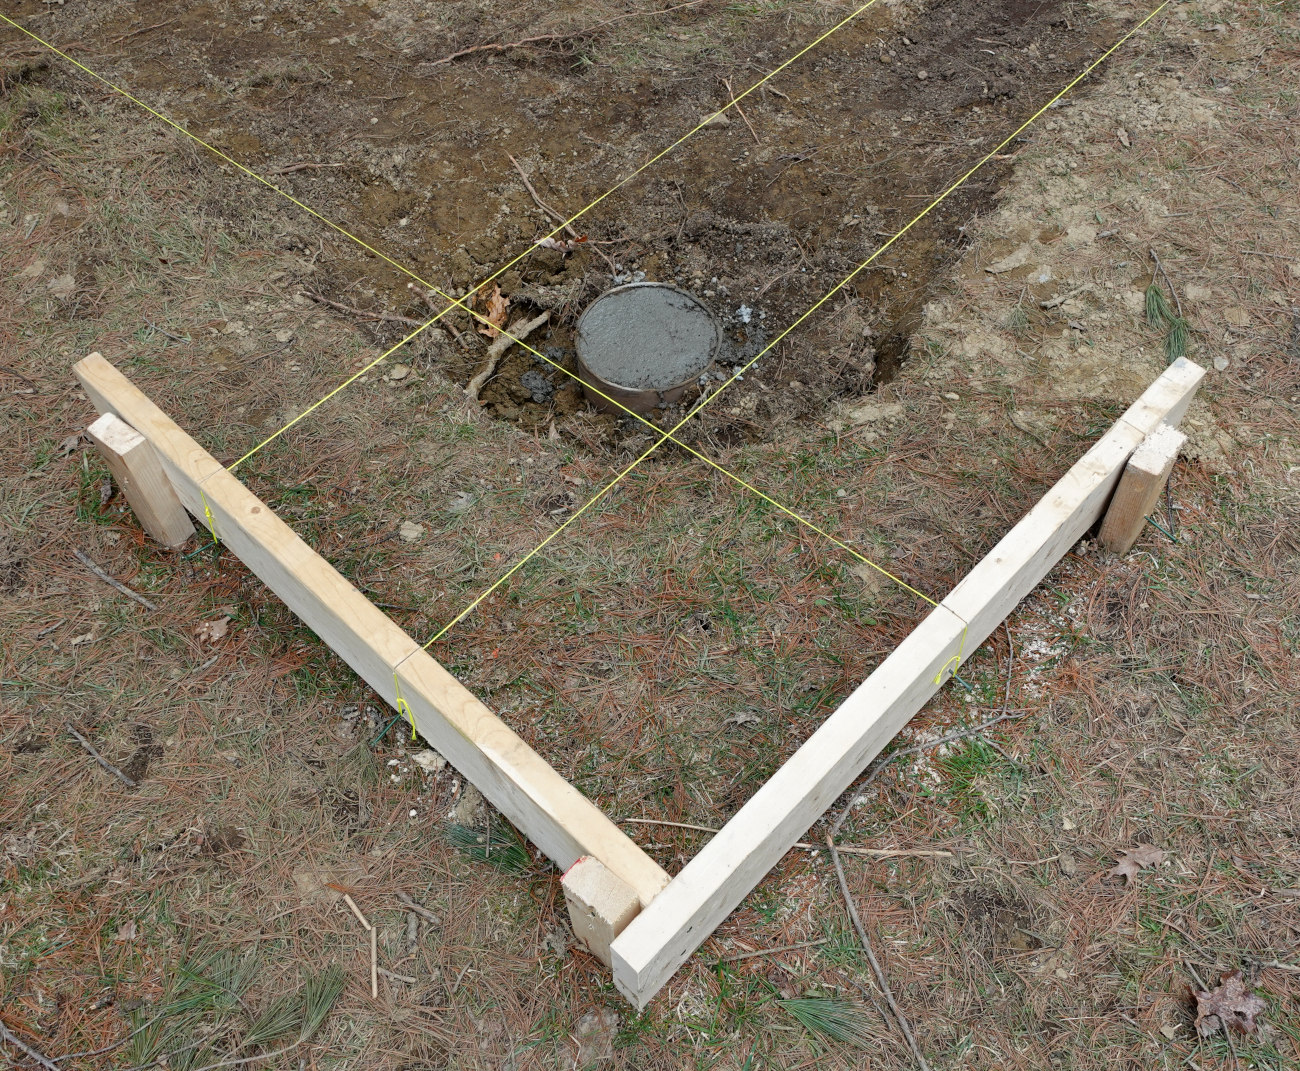
Nate measures from the top of the bigfoot to the top of the hole. He cuts the sonotube and screws it into place, then George checks the alignment.
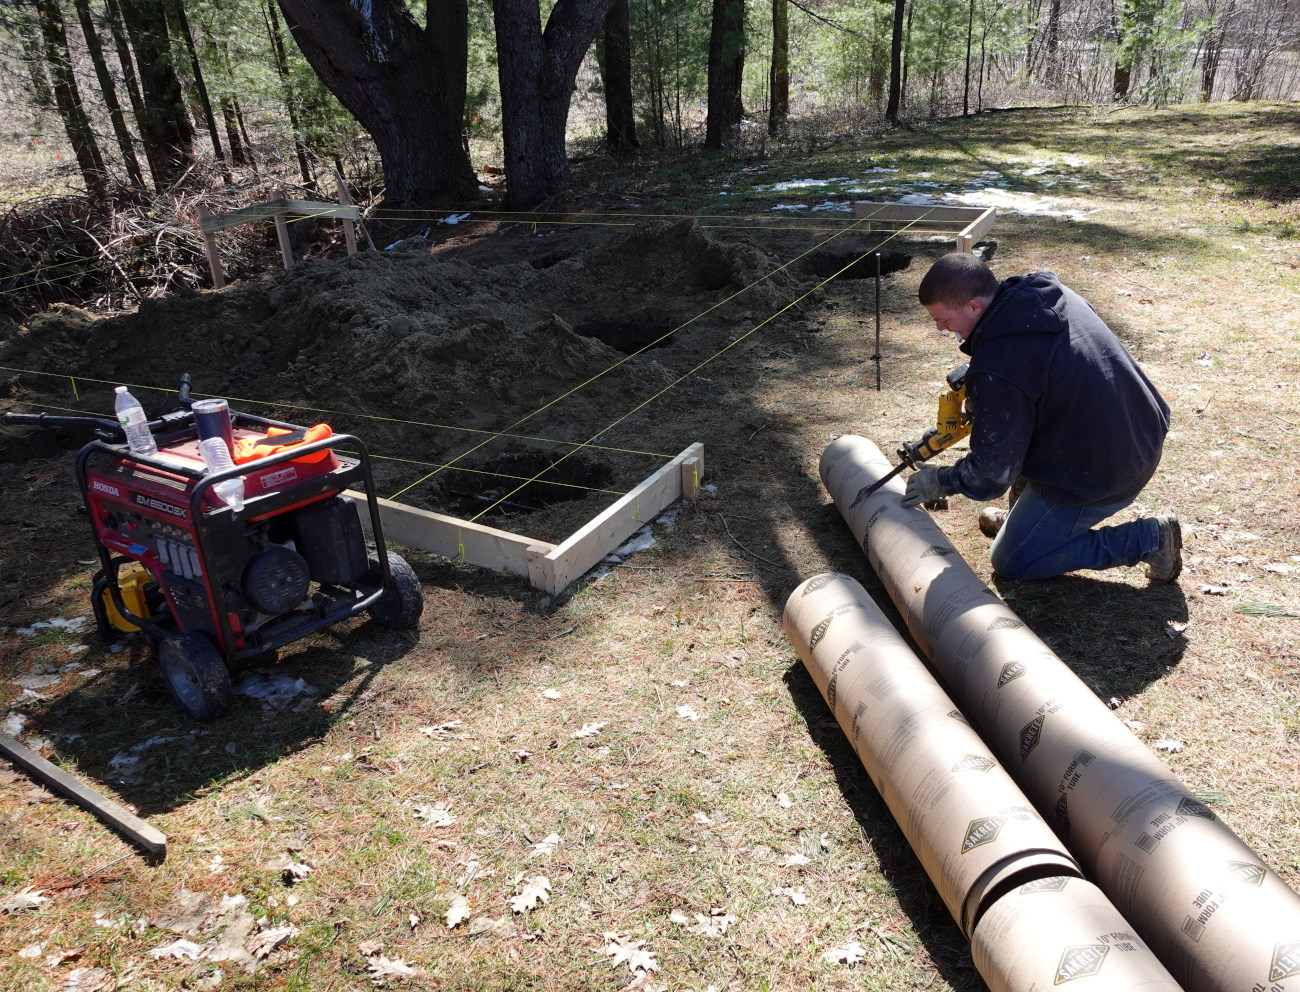
The next day Nate pours the rest of the concrete and fills in the holes. The DIY foundation is prepped and ready for the cabin.
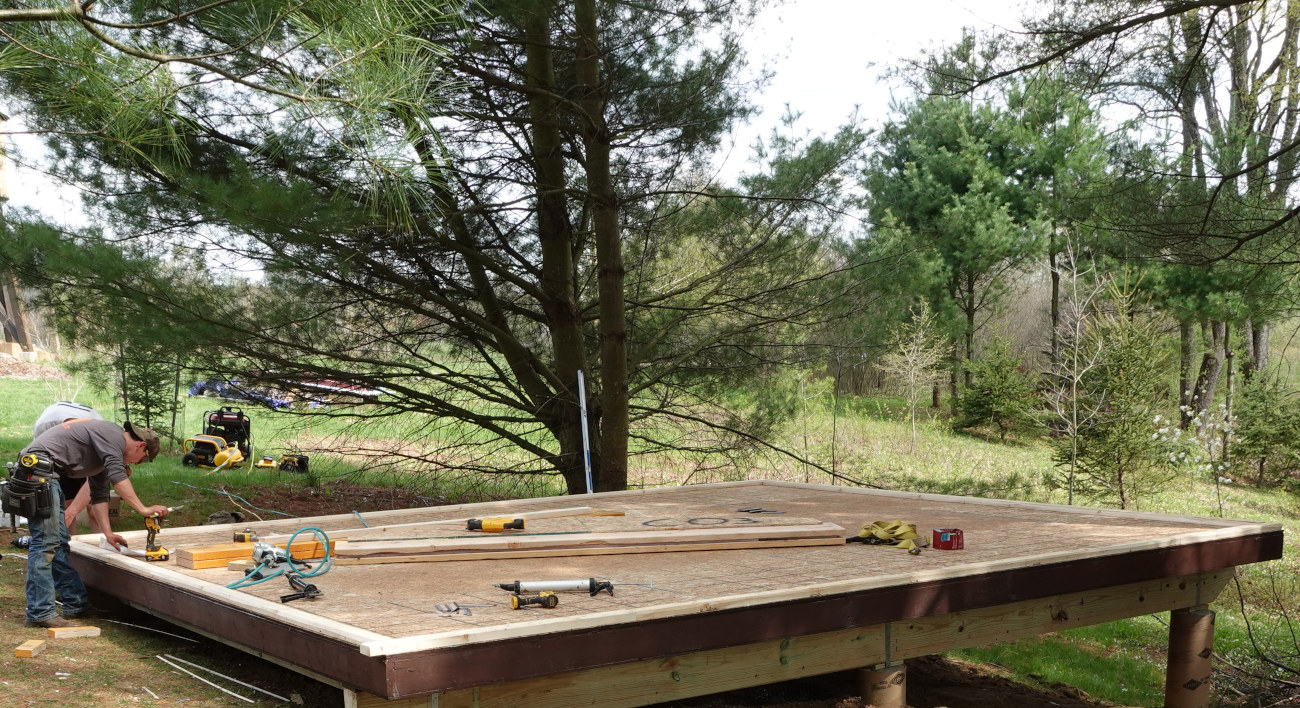
The cabin’s deck is in. Using a SIP floor makes the work go fast.
Assembly
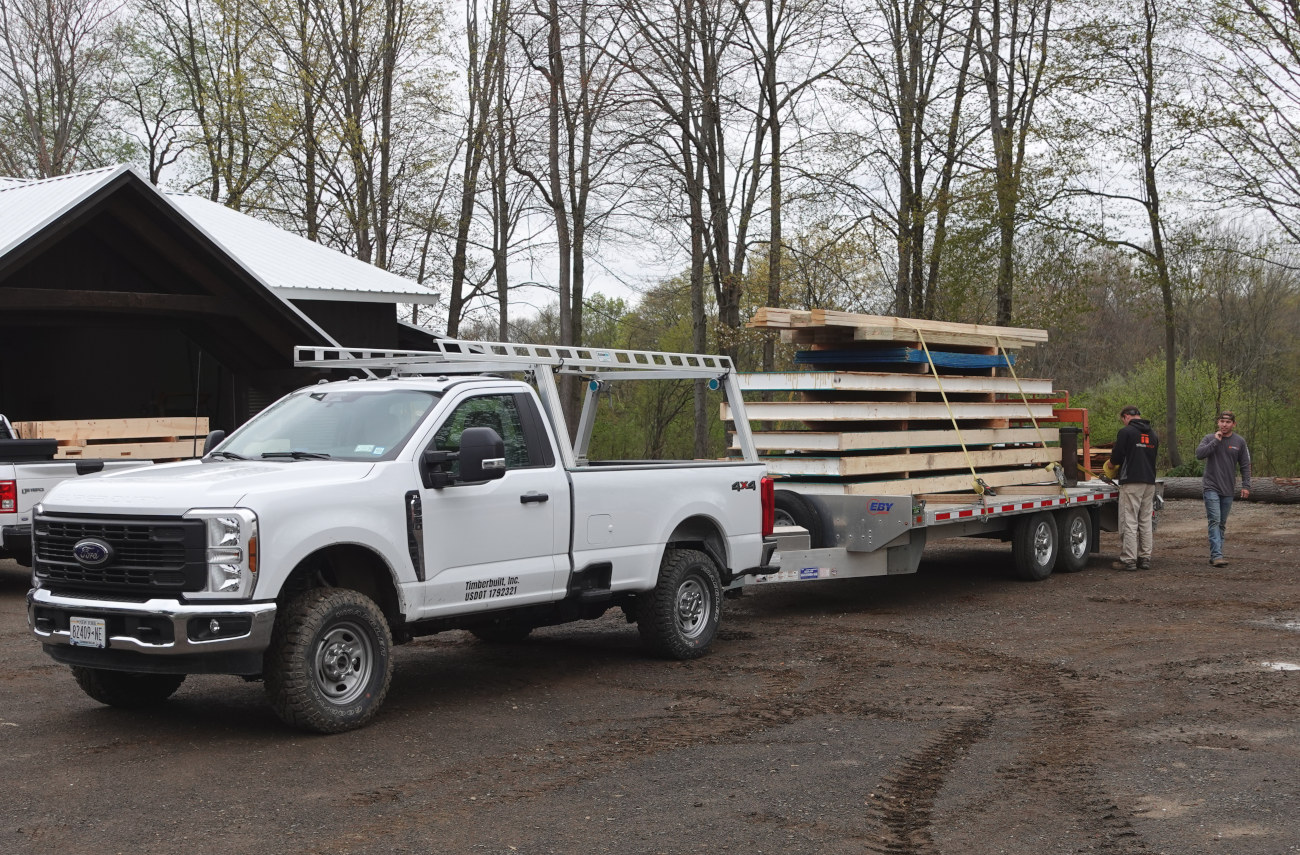
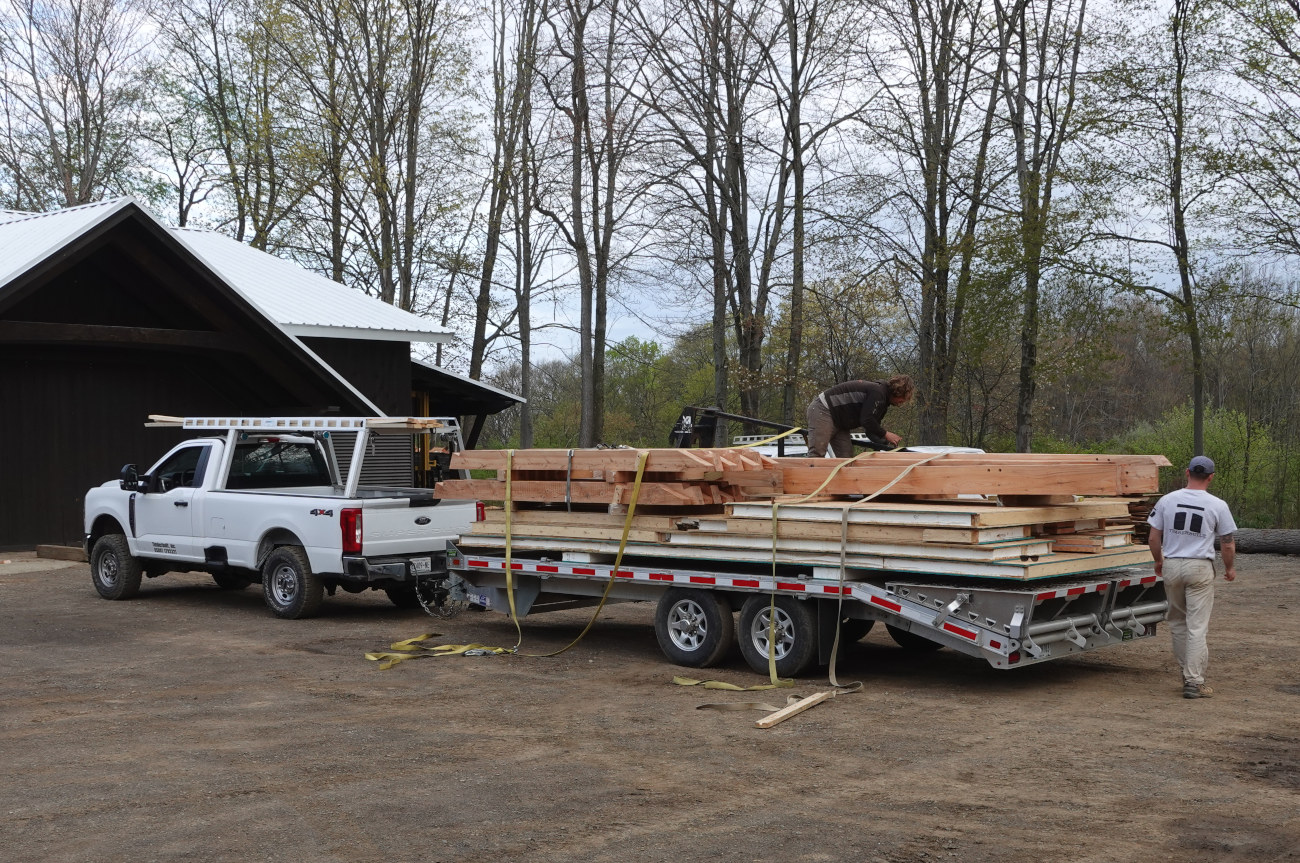
The timbers and SIPS are headed to the job site.
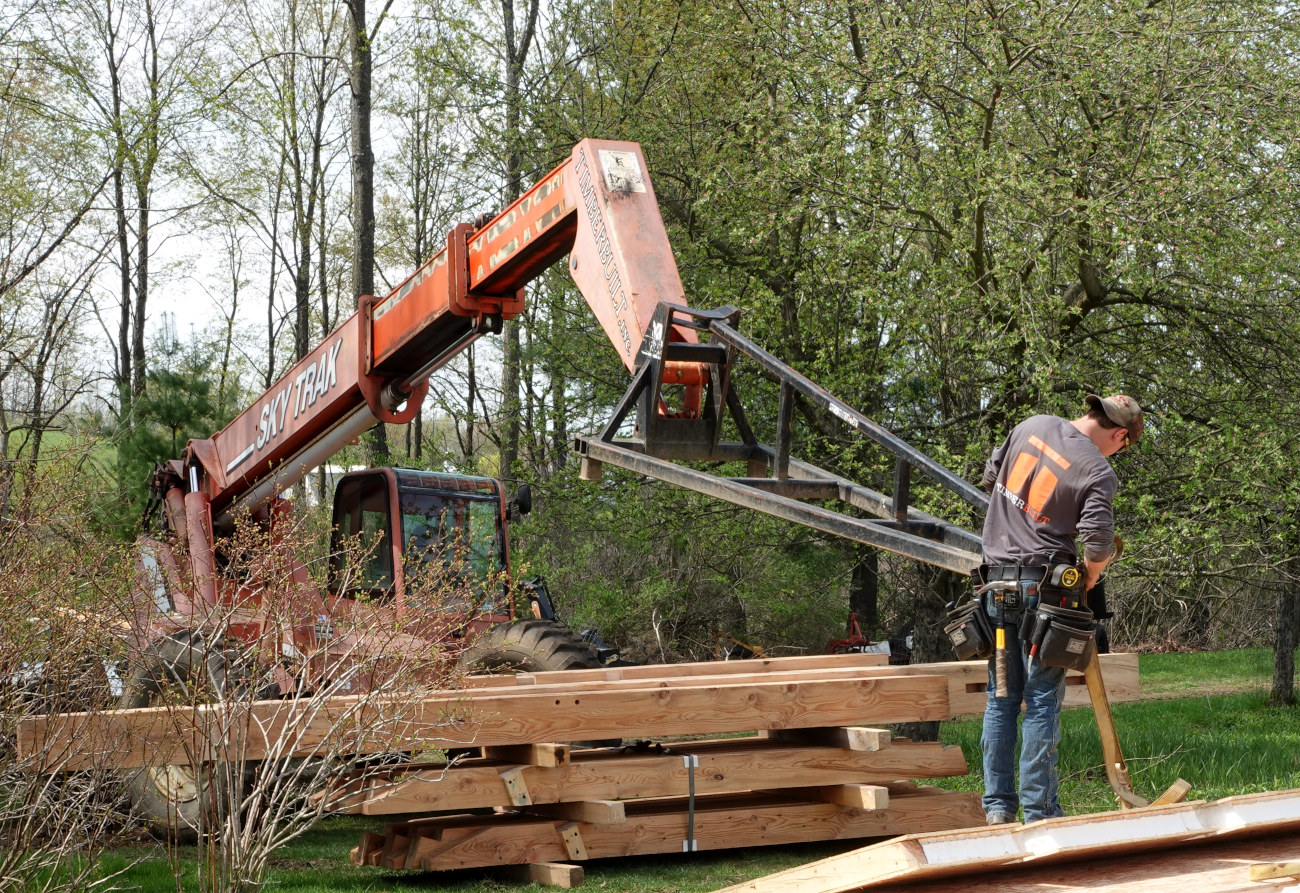
Matt bolts a plate to the SIP and Frank brings it over with the telehandler.
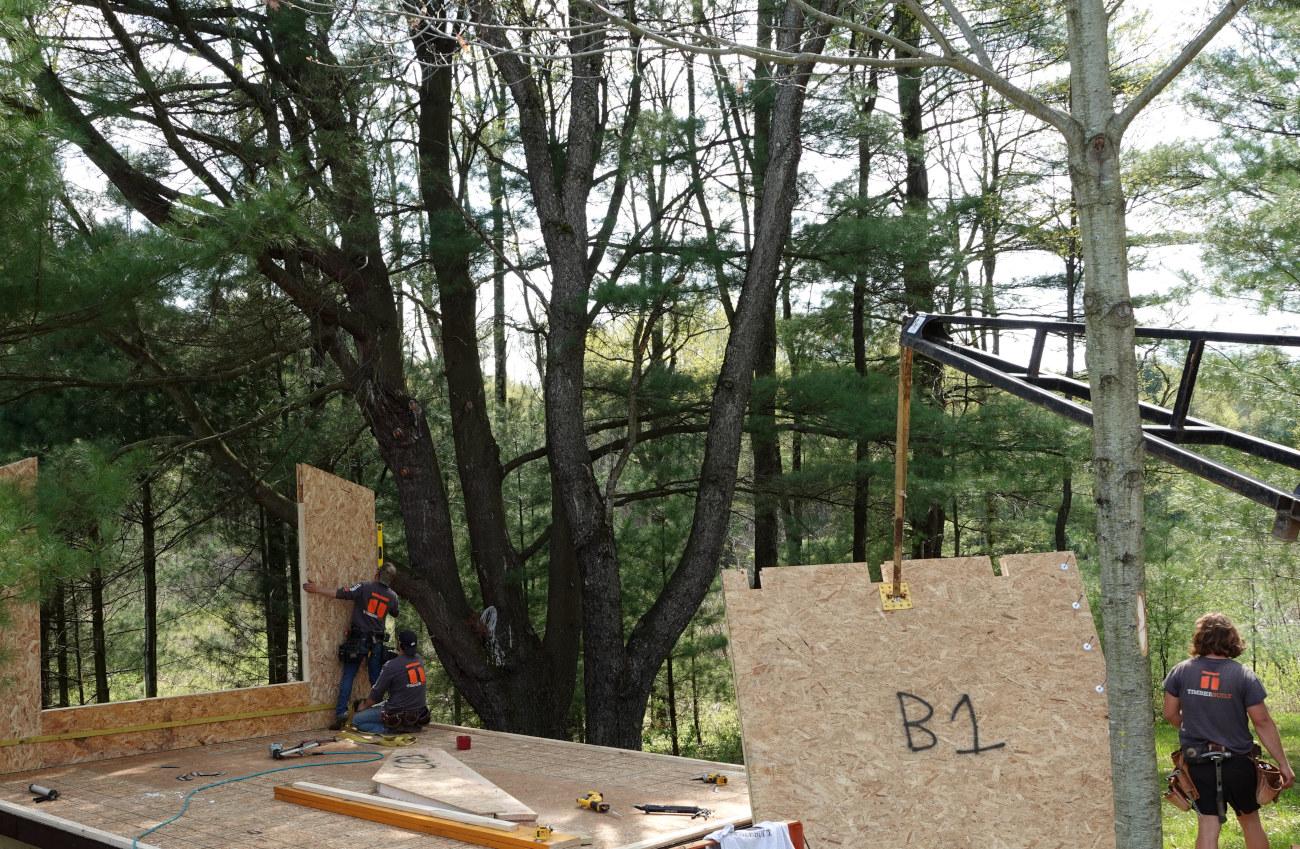
With the walls up the timbers quickly fall into place.
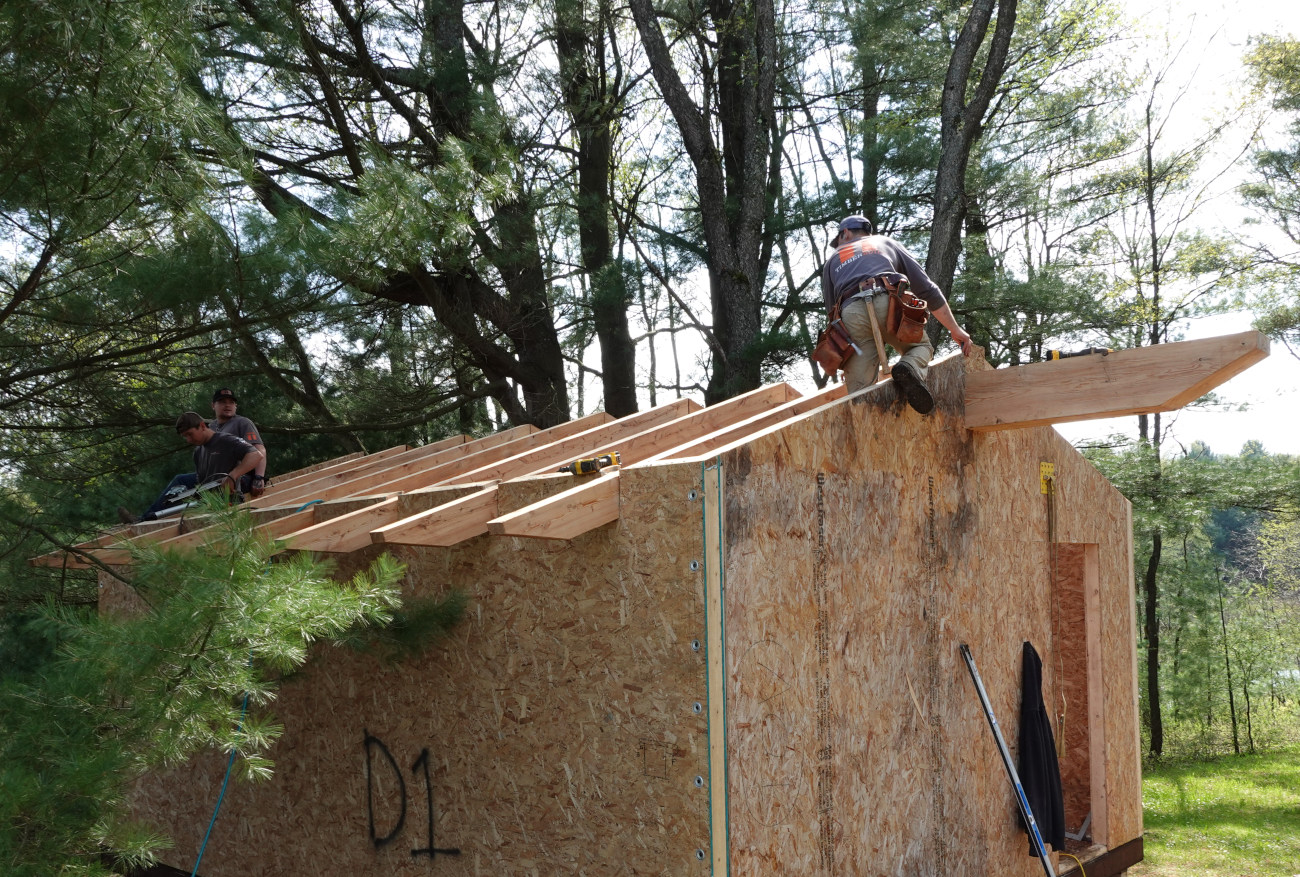
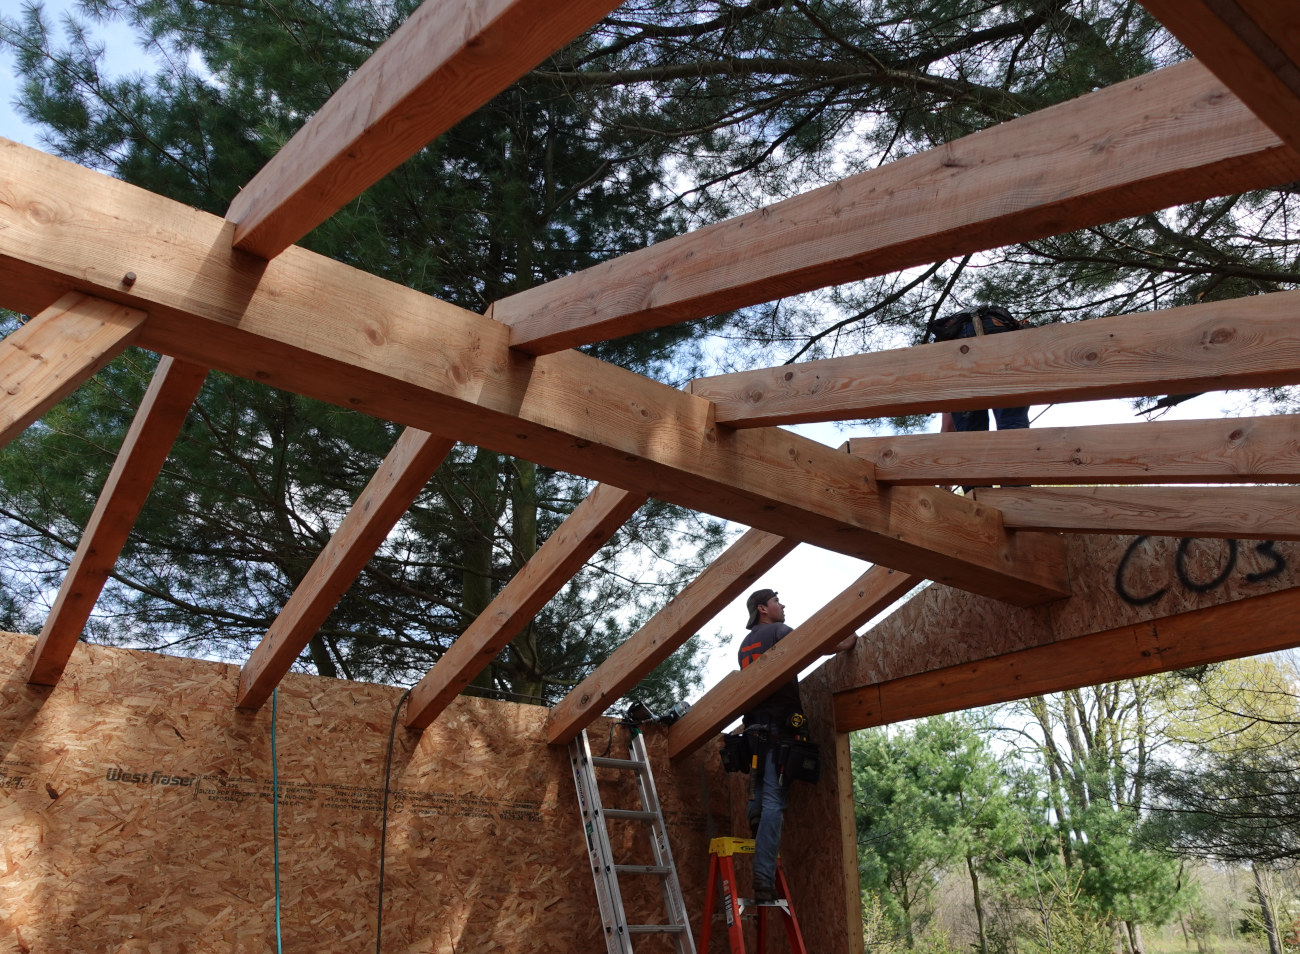
The next step: roof panels. Stay tuned for more updates…
The Timberbuilt newsletter
Be the first to hear about new house designs, recently completed projects & upcoming events
Our newsletter is a page turner, and we only send it out 4x a year